
Start with the bank accounts you use most. You can connect more later and invite someone to your household when you’re ready.
How long does setup take?
The first connection requests 90 days of transactions and categorizes them automatically. It usually takes about five minutes. Some banks take longer or provide less history.
After that, transactions arrive and get sorted in the background. Vylo uses its ordinary rules automatically; AI help requires a separate choice.
What should I do after the import?
Look through a few familiar purchases and review anything uncertain. You can then make a budget from past spending or choose your own amounts.
Invite your household if you want to share the same accounts, categories, and budget with someone else.
On the web
The linked articles below walk through each task in more detail.
Connect your first bank
Open Accounts and choose Add new account. Complete your bank’s verification and select the accounts to share.
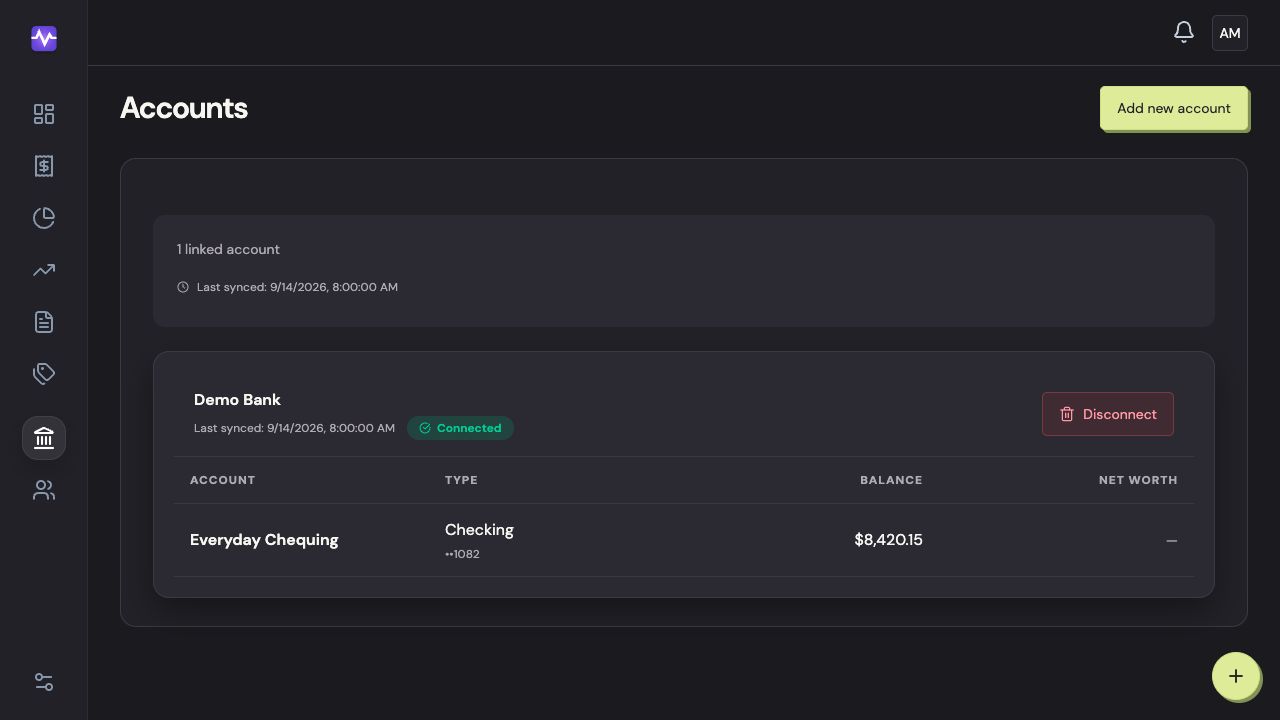
Connect your first bankTap to enlarge Review what needs a decision
After the import finishes, open the review banner. Choose categories for purchases Vylo couldn’t place.
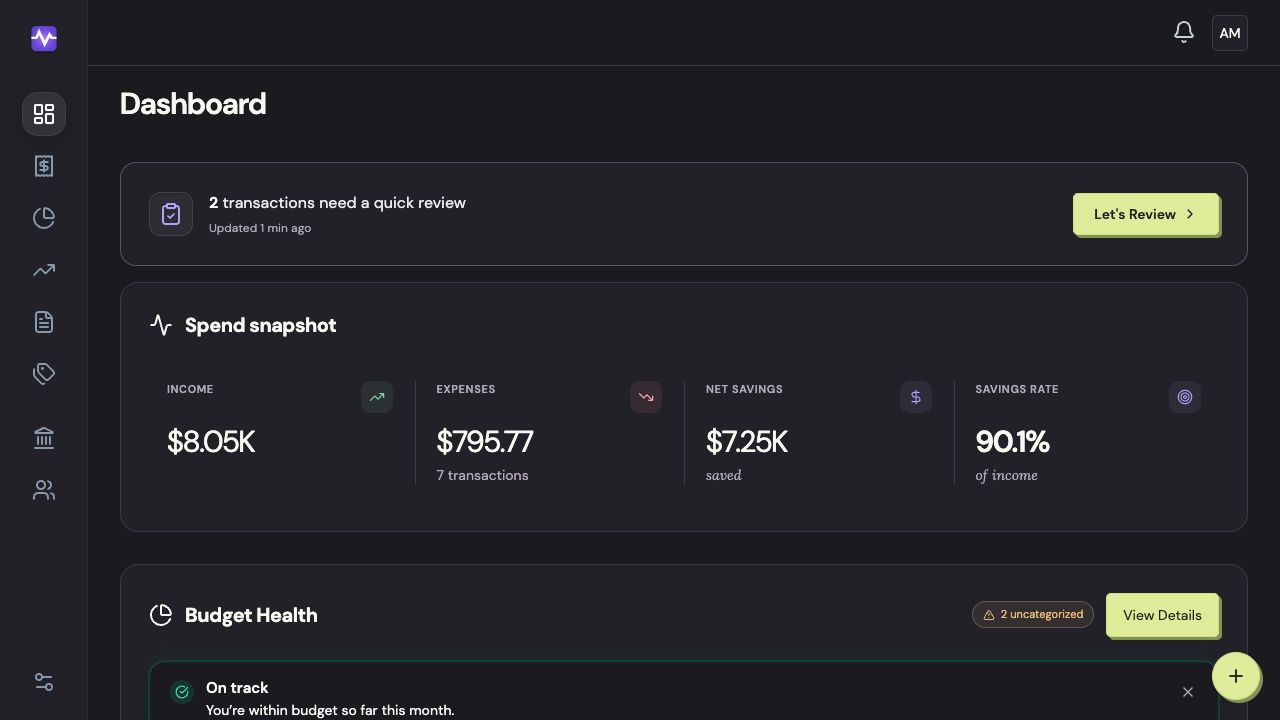
Review what needs a decisionTap to enlarge Open budget setup
Choose Spend in the navigation, then Add Budget. Once a budget exists, this section is called Budgets.
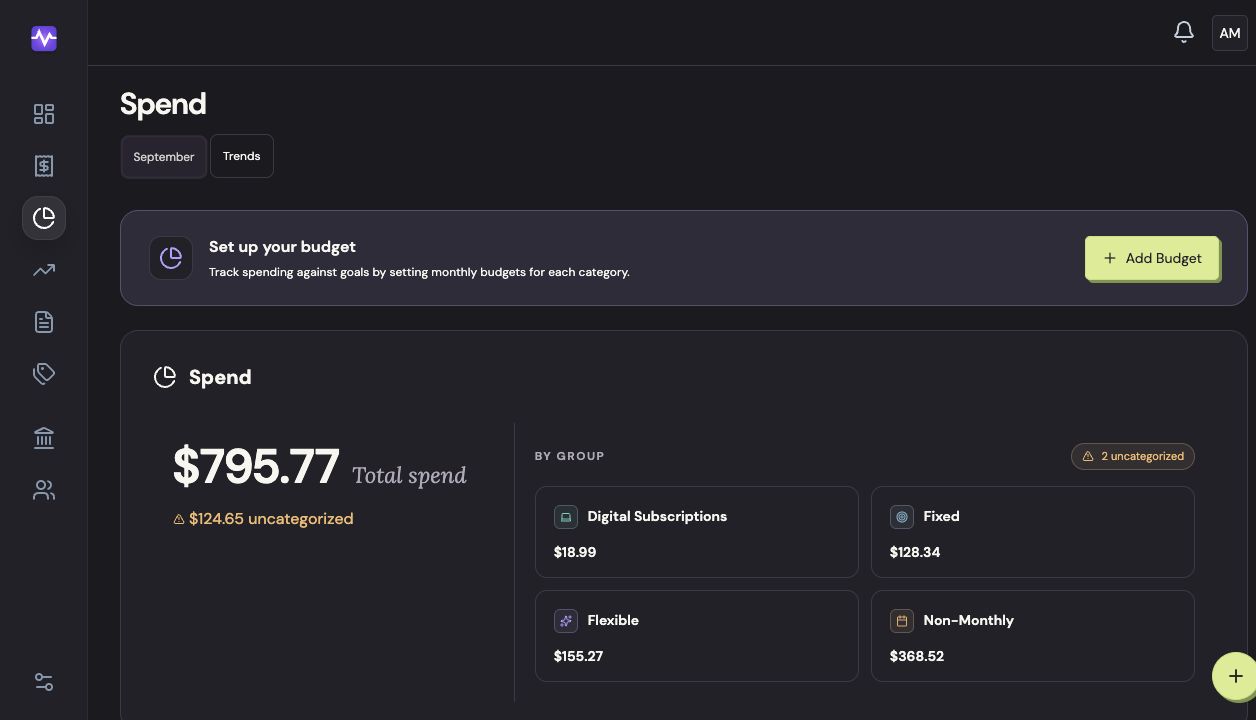
Open budget setupTap to enlarge
On iPhone
The first import usually takes about five minutes. The app shows its progress; some banks take longer.
Open Accounts
Tap the settings control at the top right of the app, then Accounts.
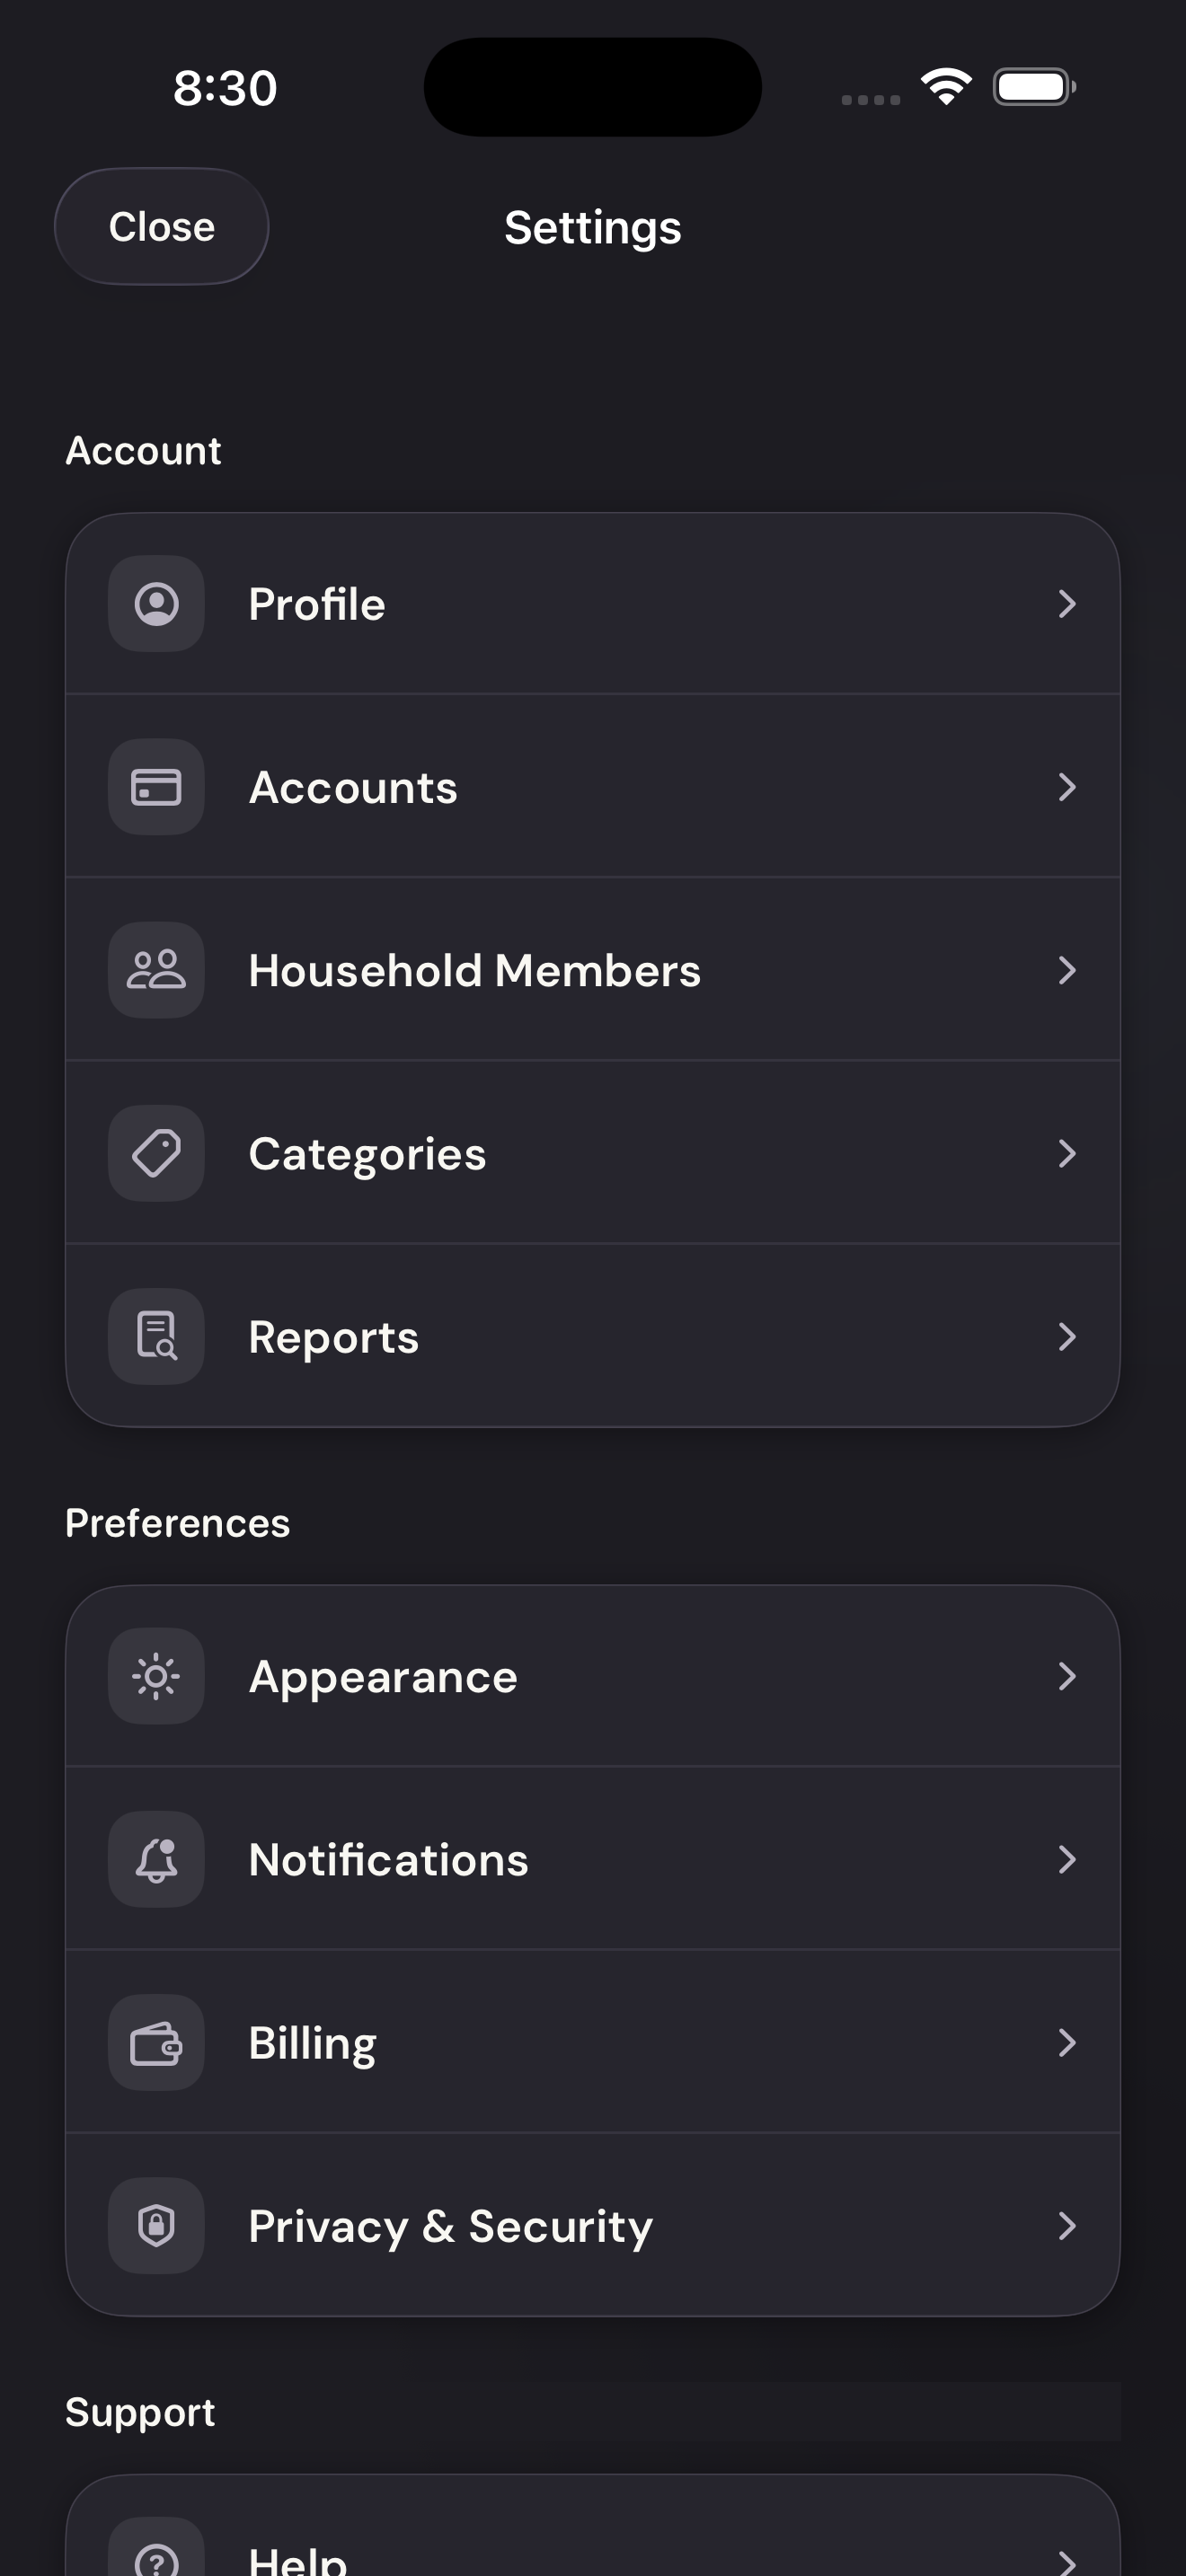
Open AccountsTap to enlarge Connect your bank
Tap Add Account and complete the bank provider’s verification.
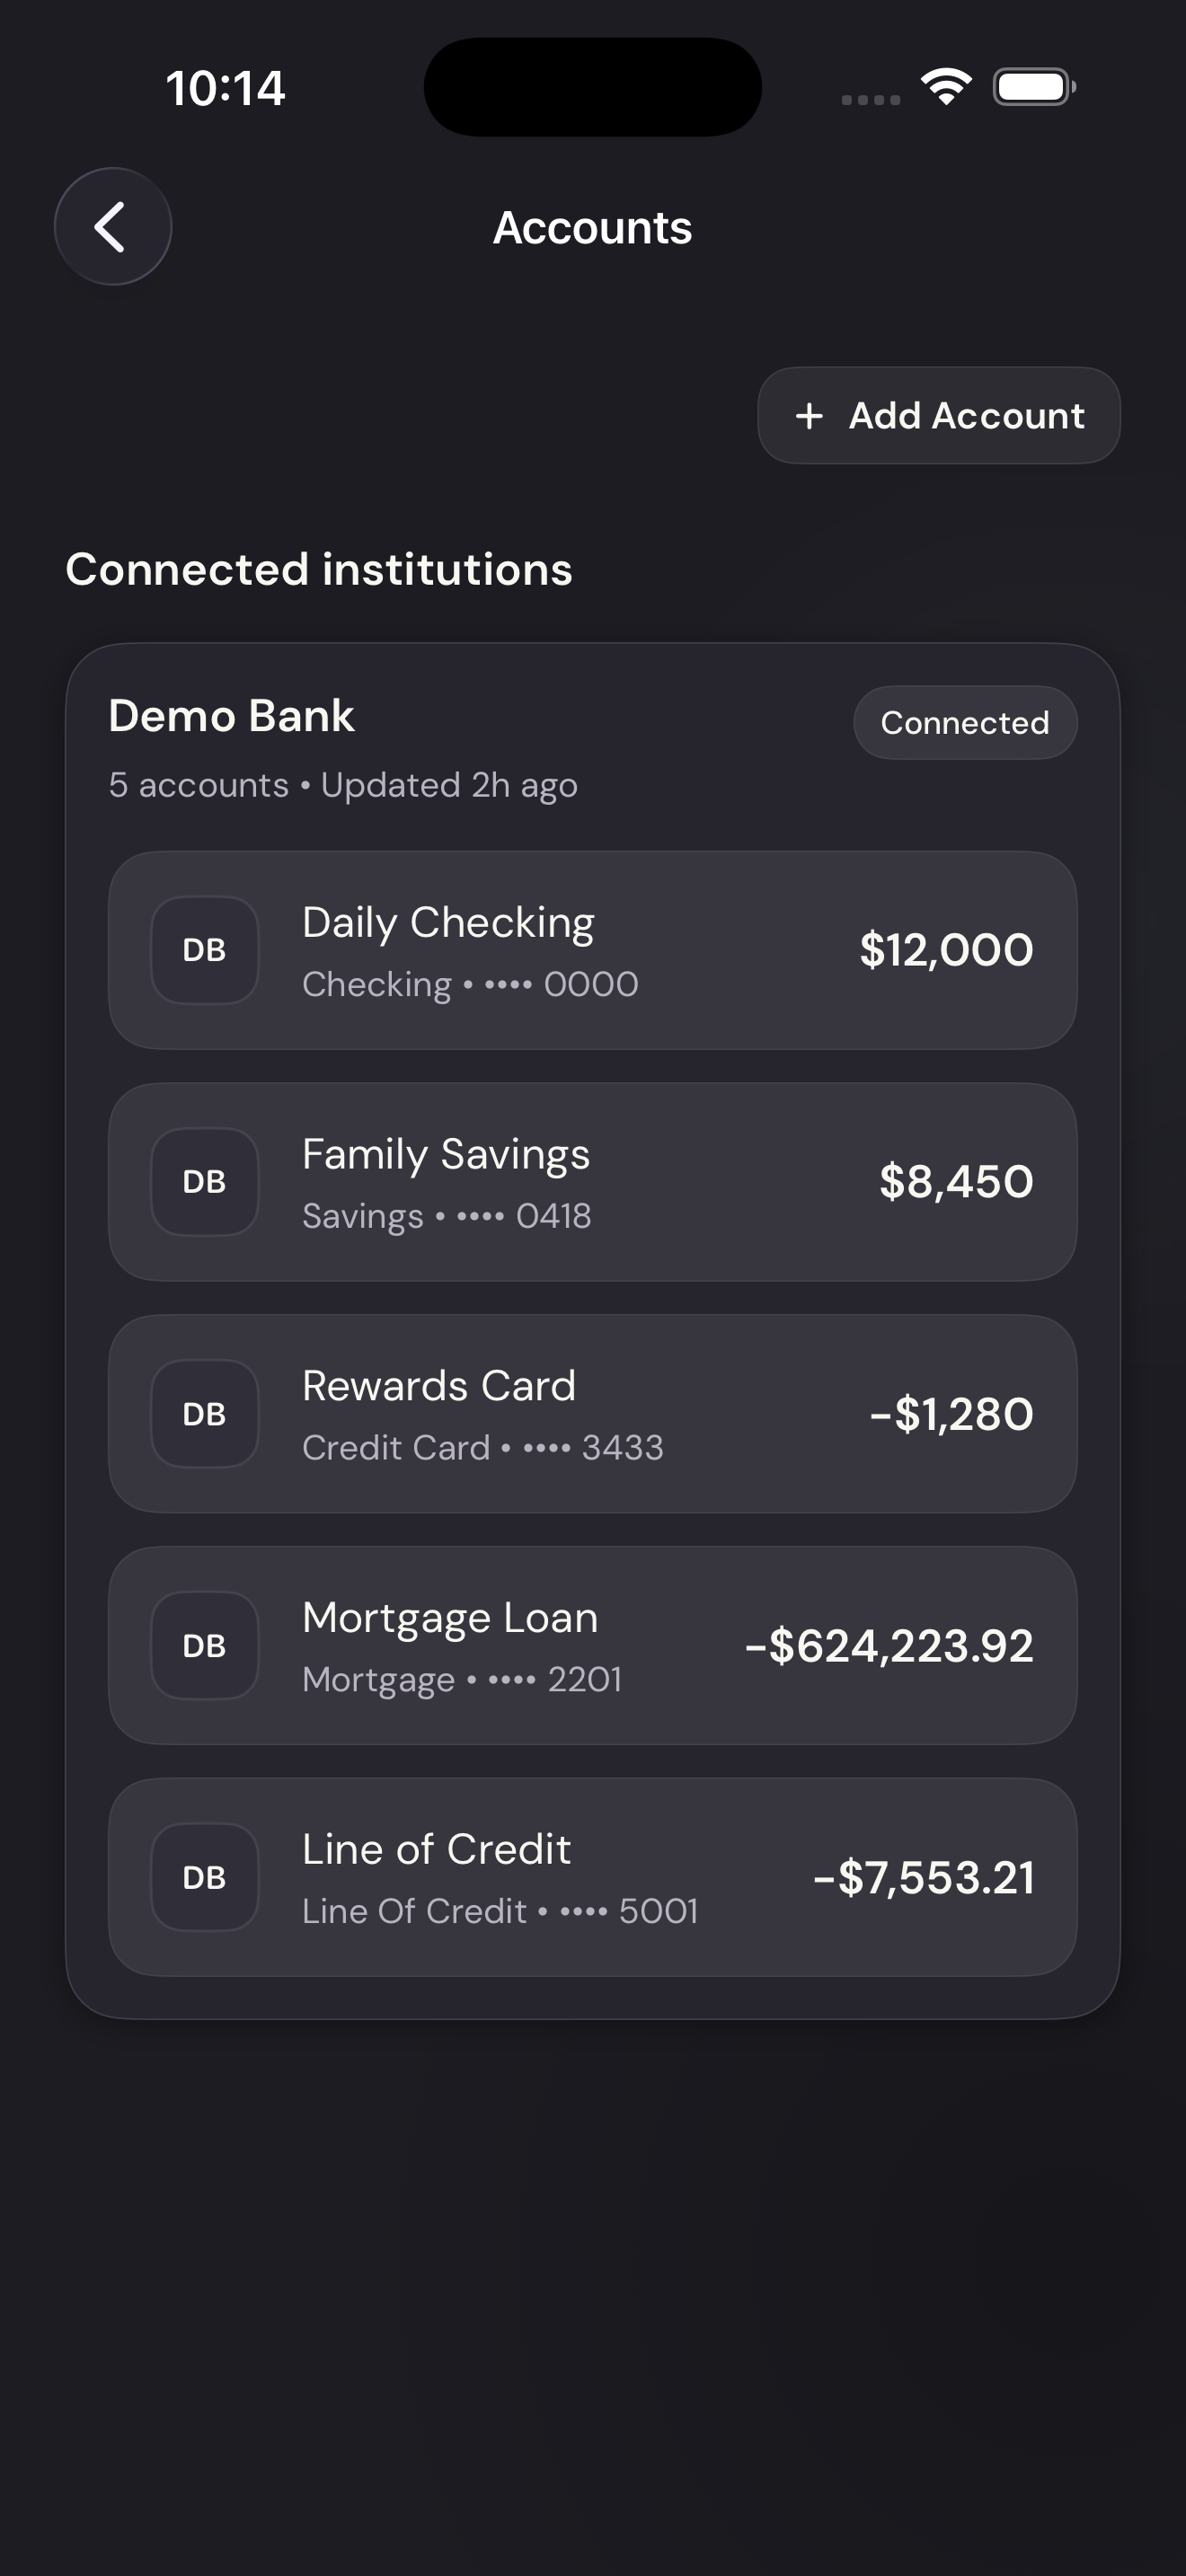
Connect your bankTap to enlarge Review your imported purchases
On Home, tap Review transactions to sort the purchases that need your input.
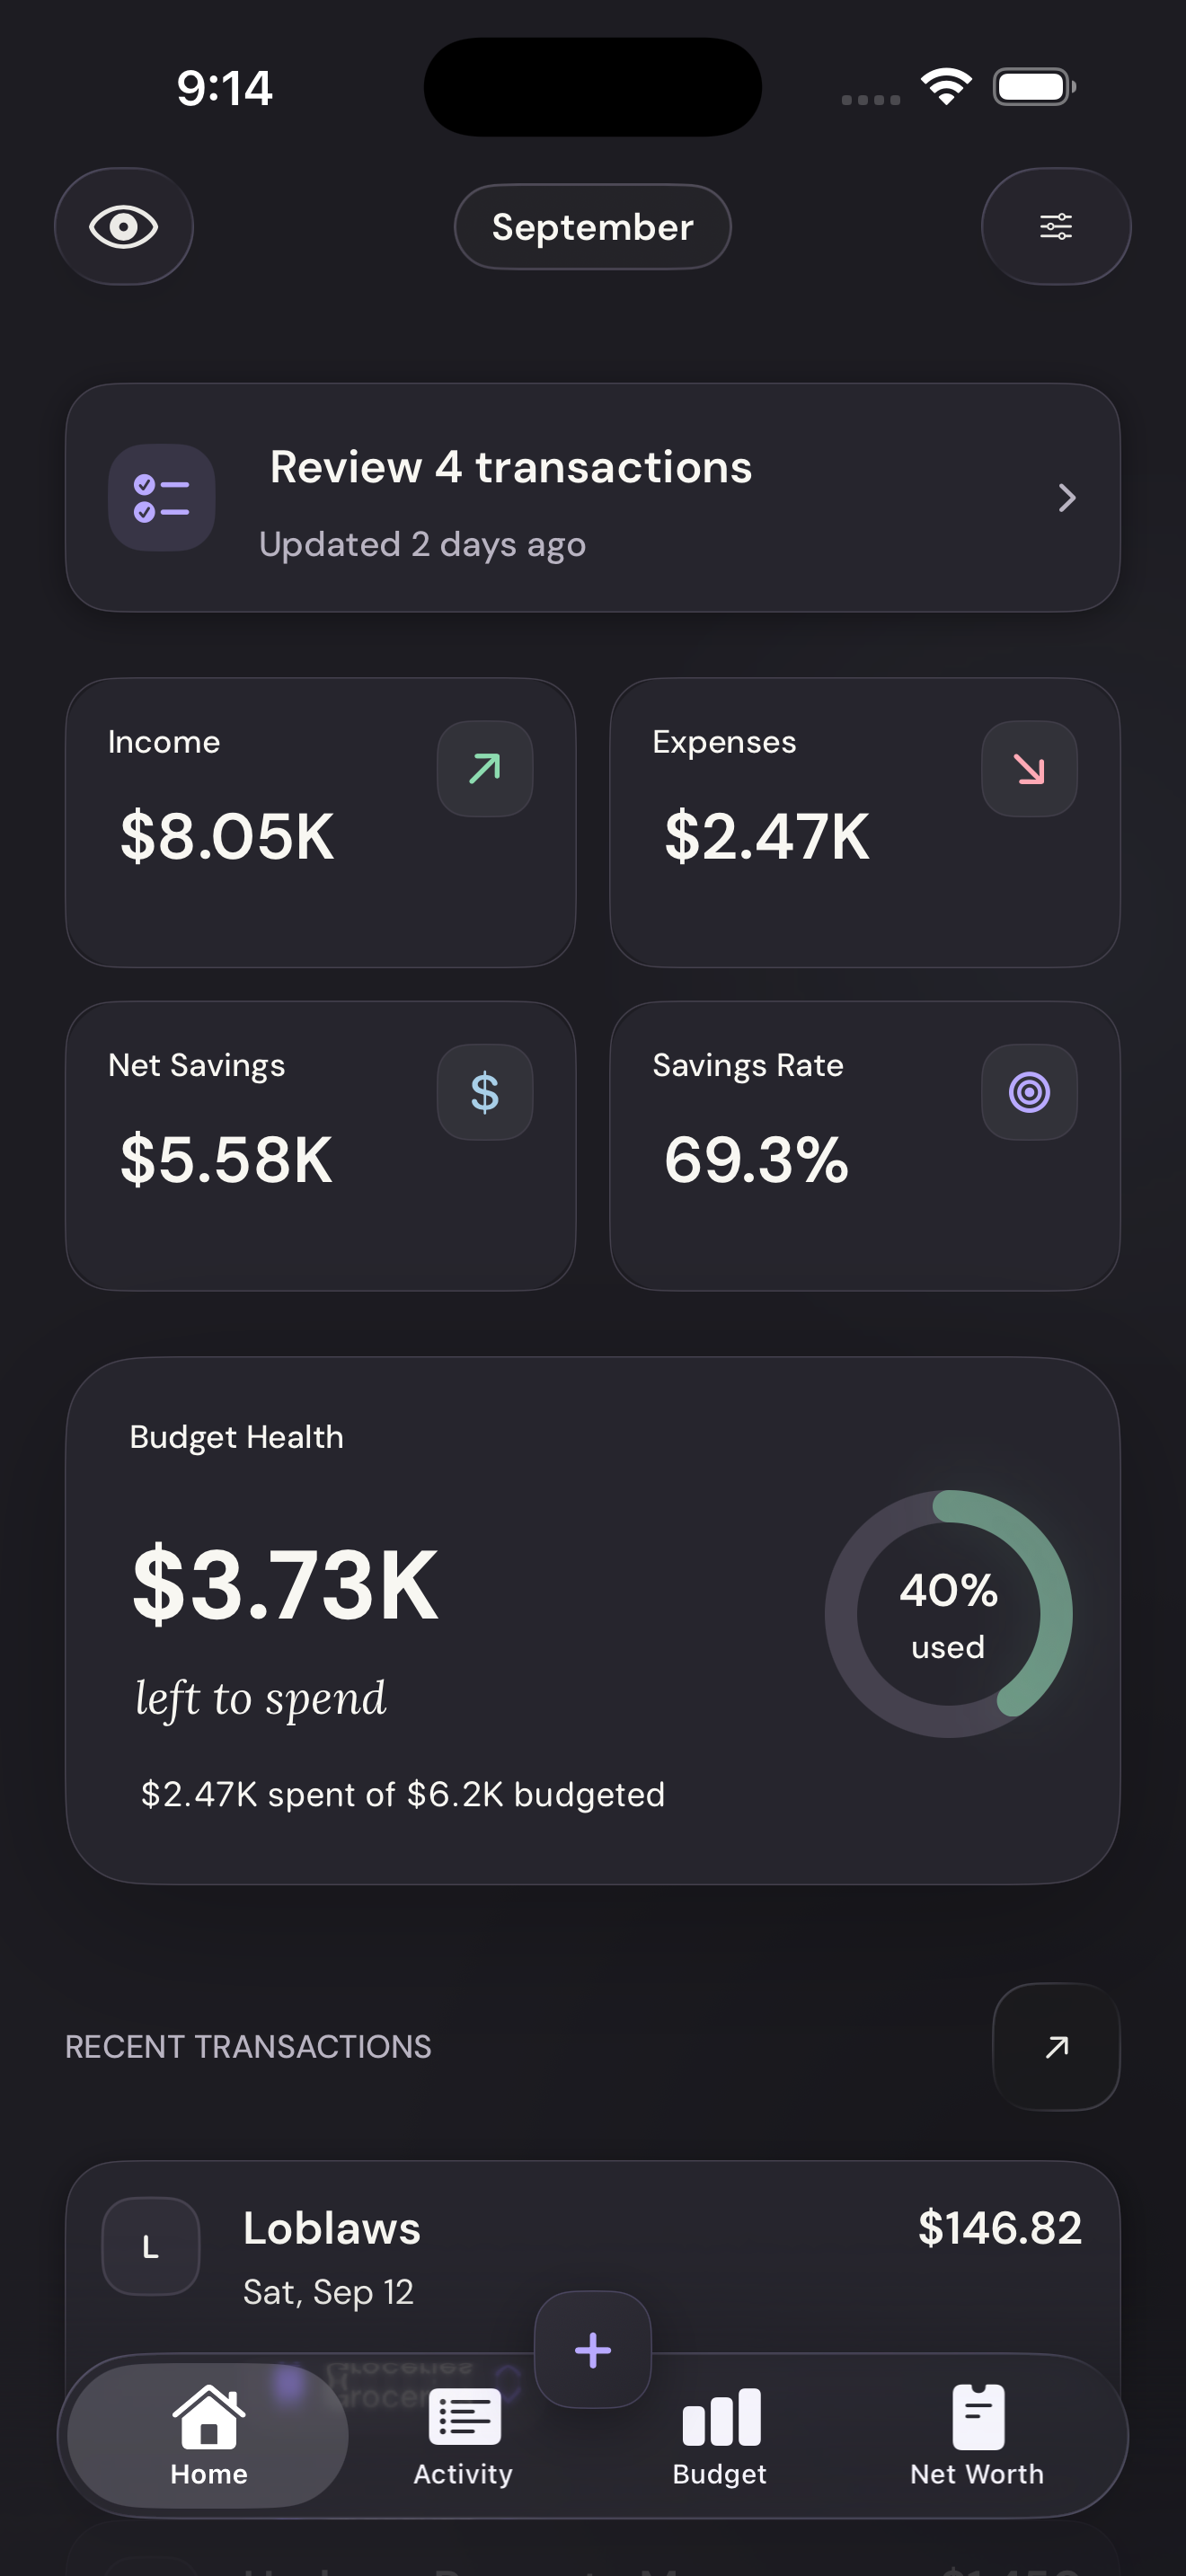
Review your imported purchasesTap to enlarge Add a budget
Tap Spend in the bottom navigation, then Add Budget.
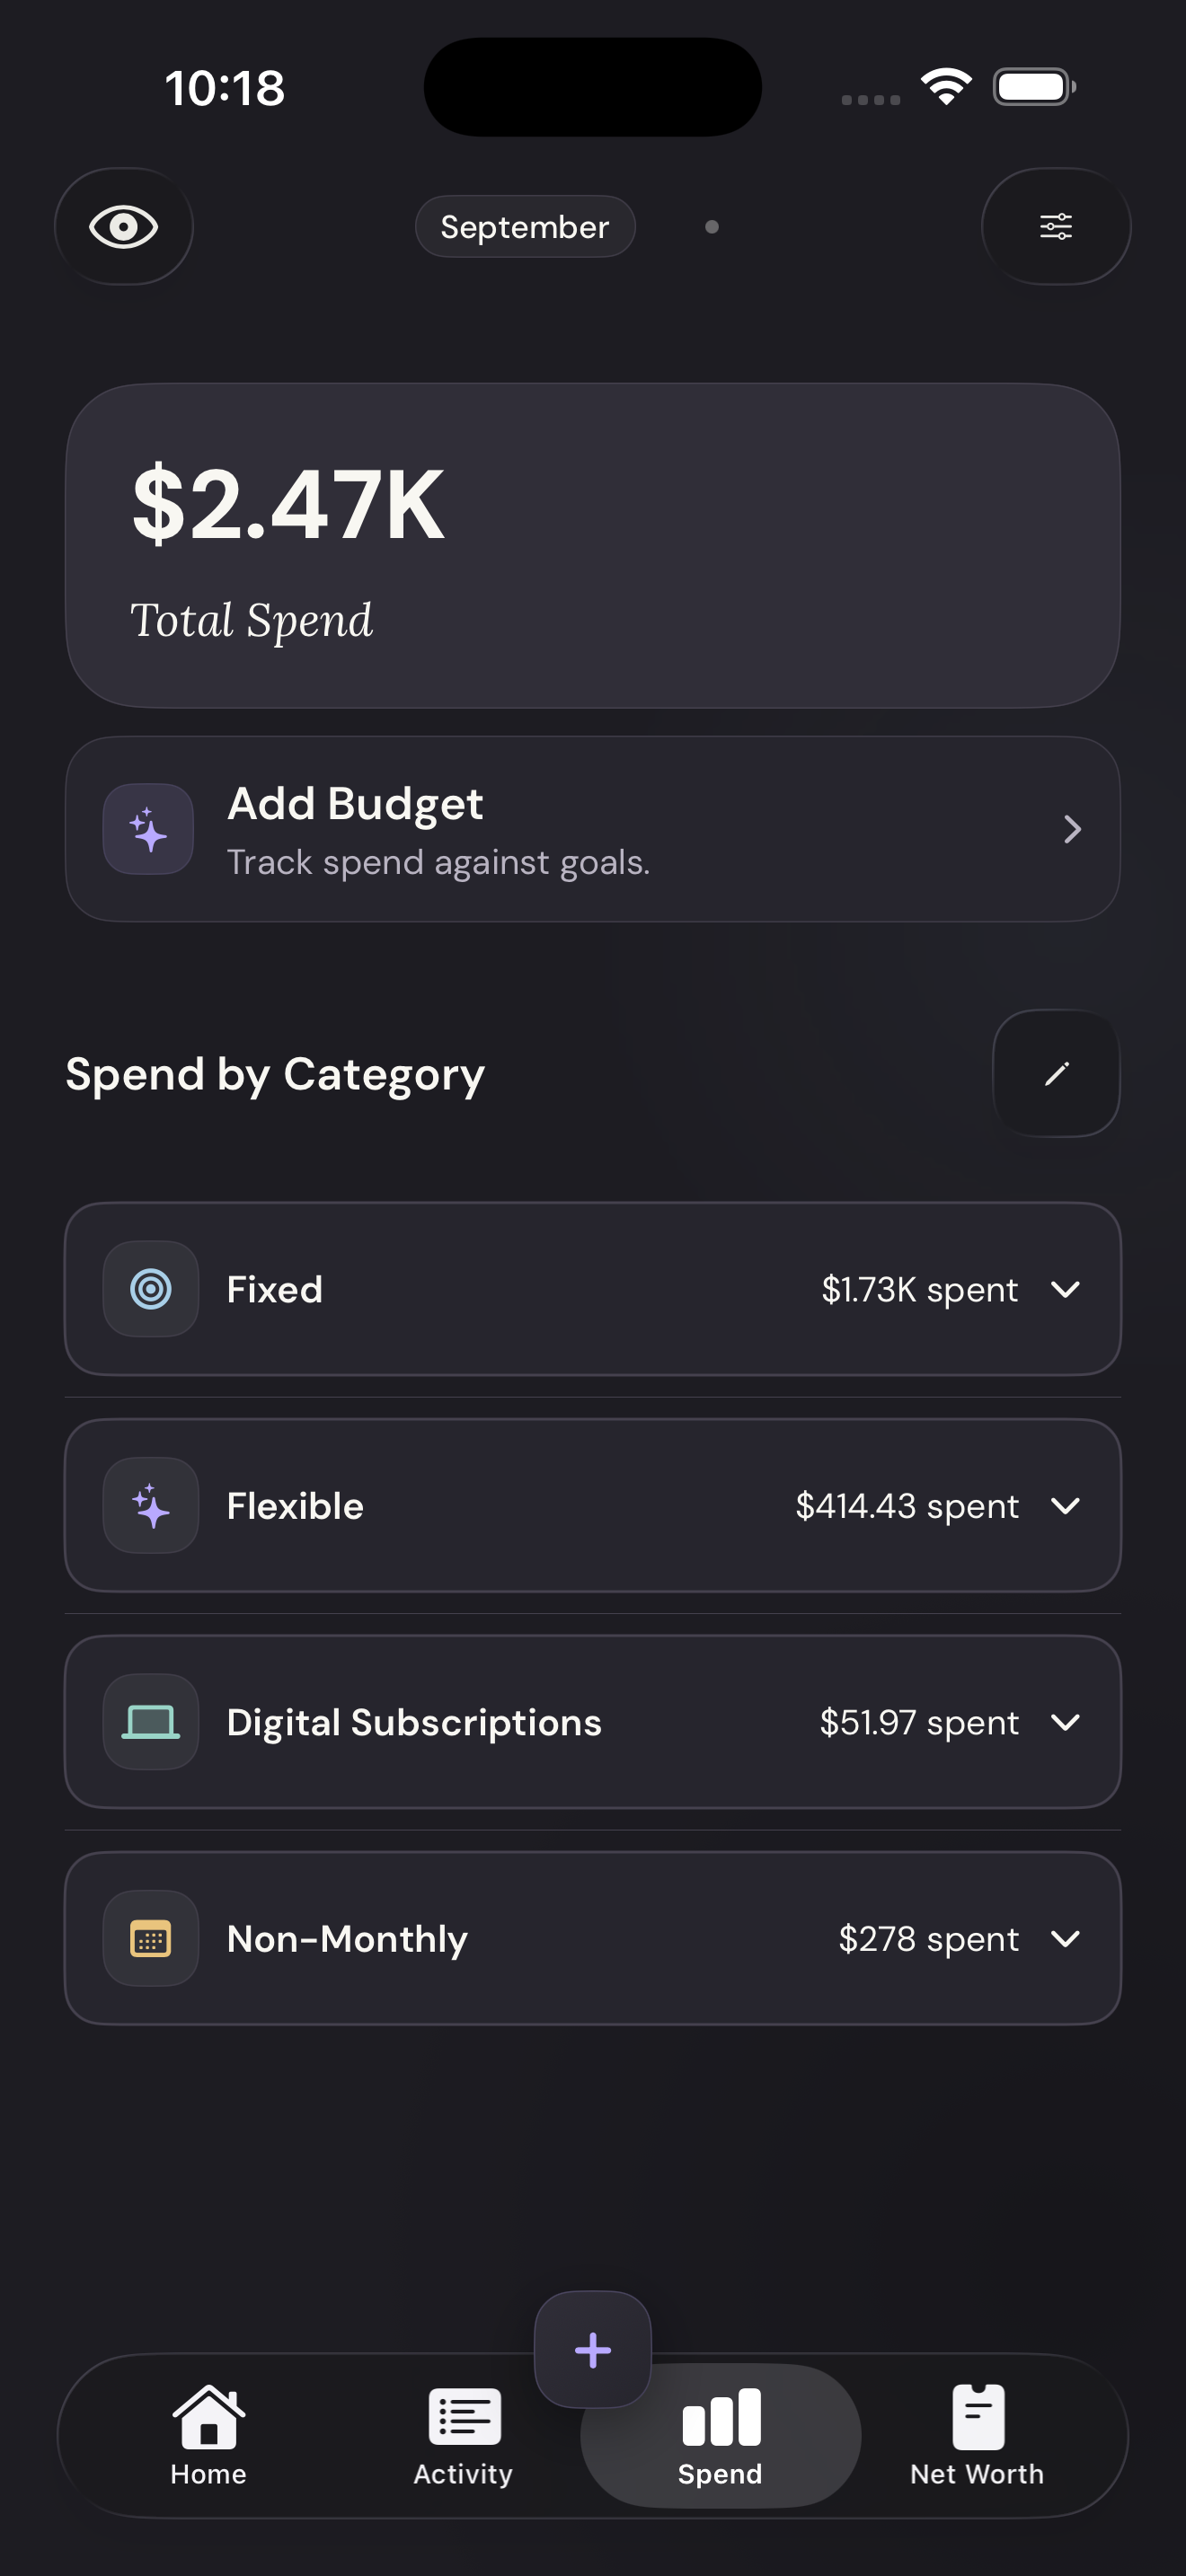
Add a budgetTap to enlarge