
Add a category when you want to track something separately—for example, Books or Pet care. If an existing category just needs a clearer name, rename it instead.
After creating it, assign a transaction to the new category. Use Remember merchant when future purchases from that merchant should go there too.
Can I add my own income categories?
Yes. Add the category inside the Income group. You could use Freelance design, Tutoring, or Weekend photography to keep those payments separate from your salary.
Then assign the incoming payments to that income category. Creating a category doesn’t move existing transactions into it automatically. The payments appear in Income activity with your category name. See where to find your income.
What about expenses for a side gig?
Keep earnings and costs in separate categories. For example, use Photography income under Income and Photography supplies in an expense group. You can also create a group called Photography expenses and add categories for Equipment, Software, and Travel.
The side-gig example shows how those pieces fit together. For a work purchase someone will pay you back for, see excluded categories and reimbursements.
On the web
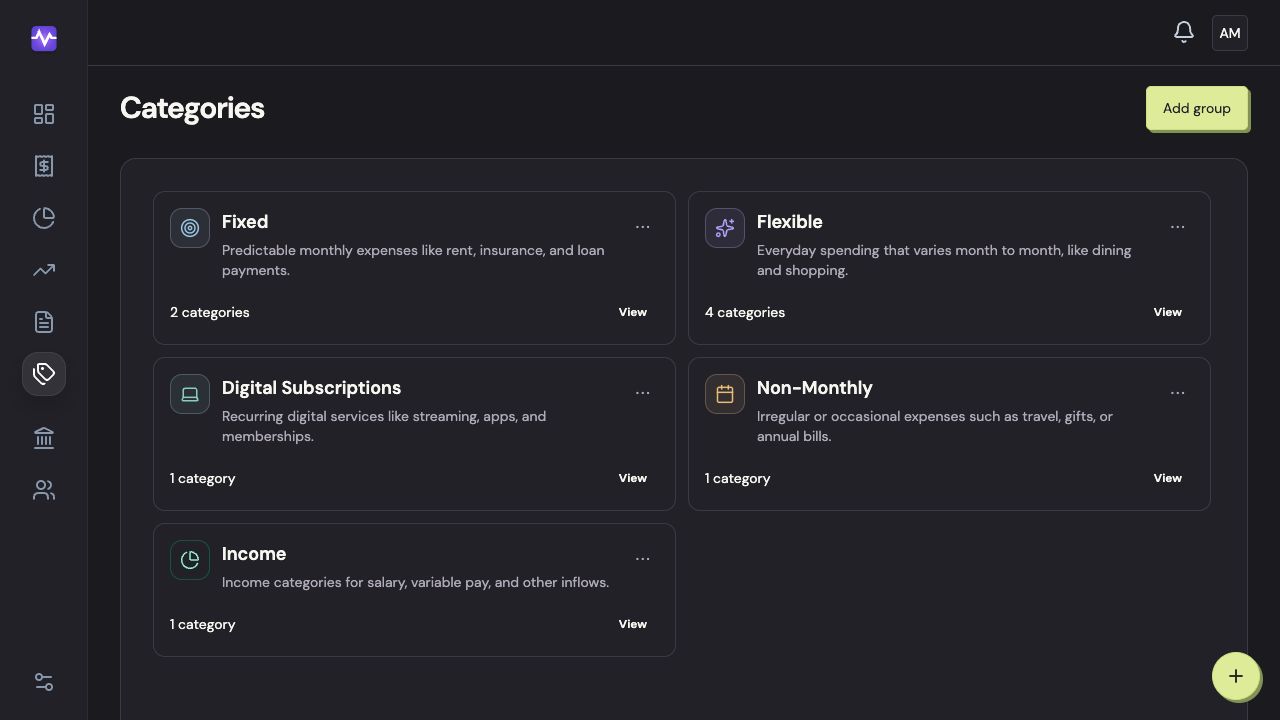
Open Categories
Choose Categories in the left navigation.
Open CategoriesTap to enlarge Open the group
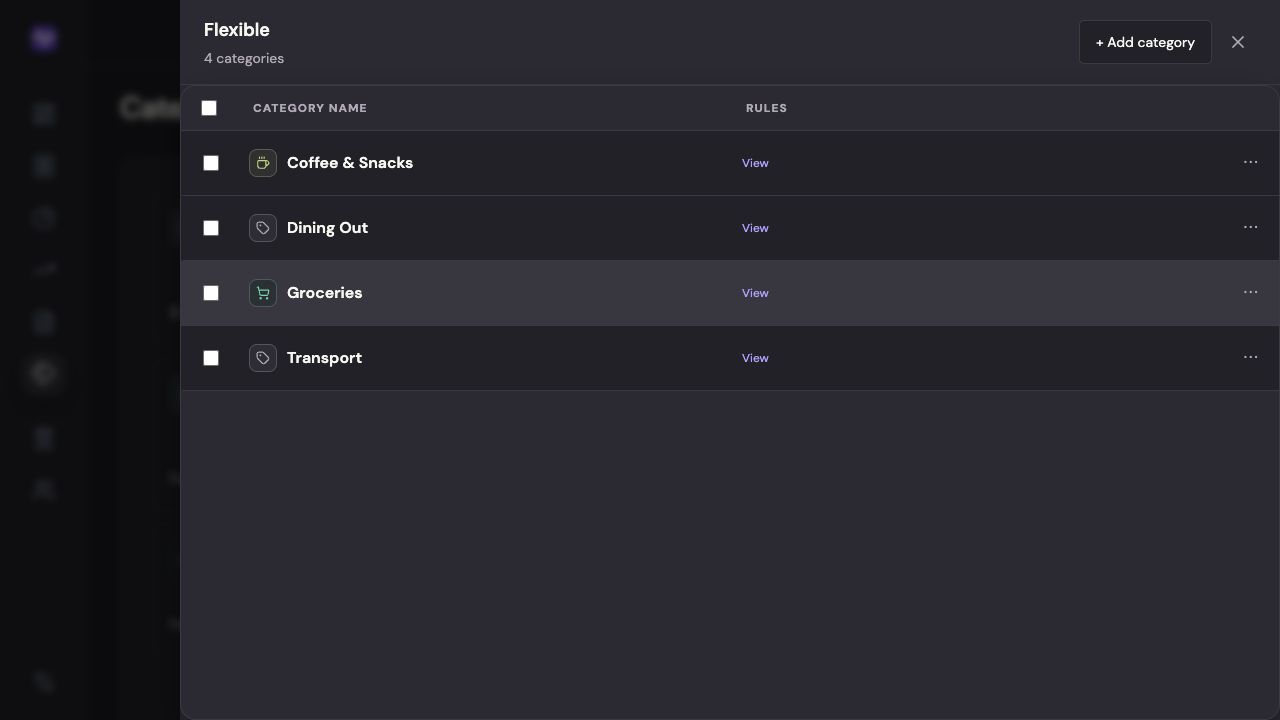
Click View on the group where the category should go. Choose Income for earnings, Excluded for transactions outside your budget, or an expense group for spending. The screenshots below use Flexible.
Open the groupTap to enlarge Add a category
Click + Add category at the top of the group.
Add a categoryTap to enlarge Give it a name
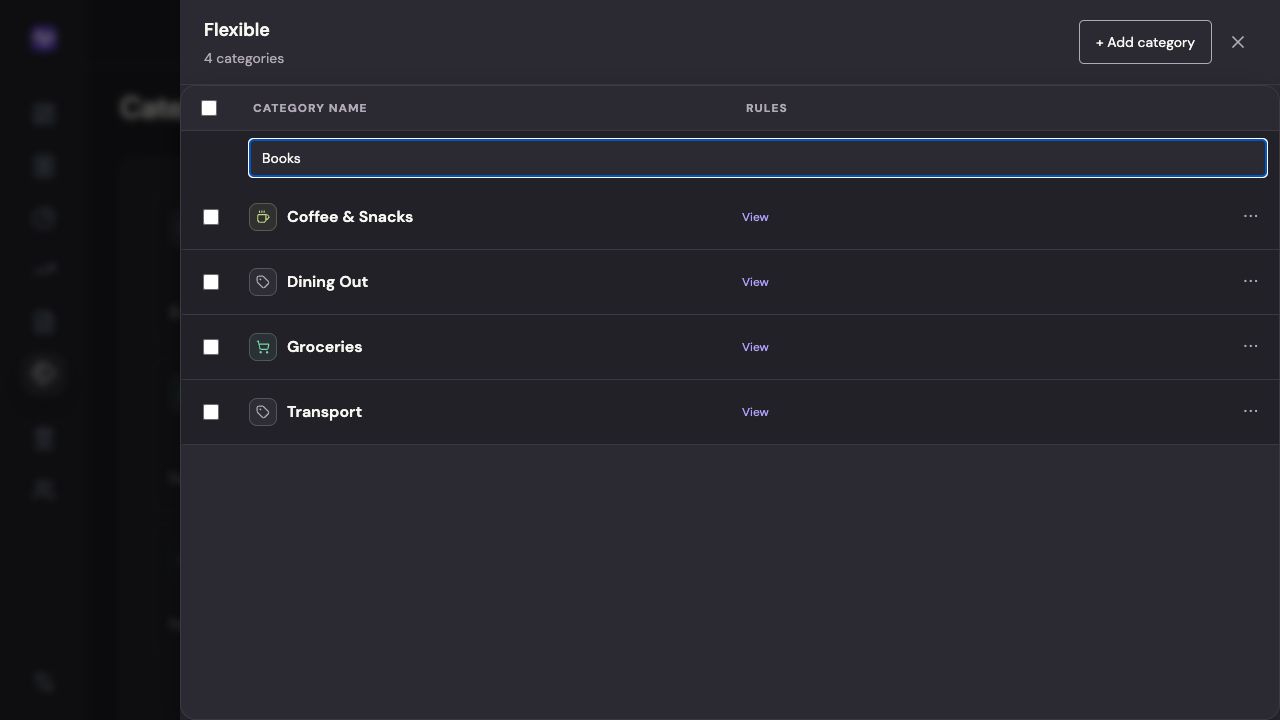
Enter the category name and press Enter. You can set its budget separately.
Give it a nameTap to enlarge
On iPhone
Open Categories
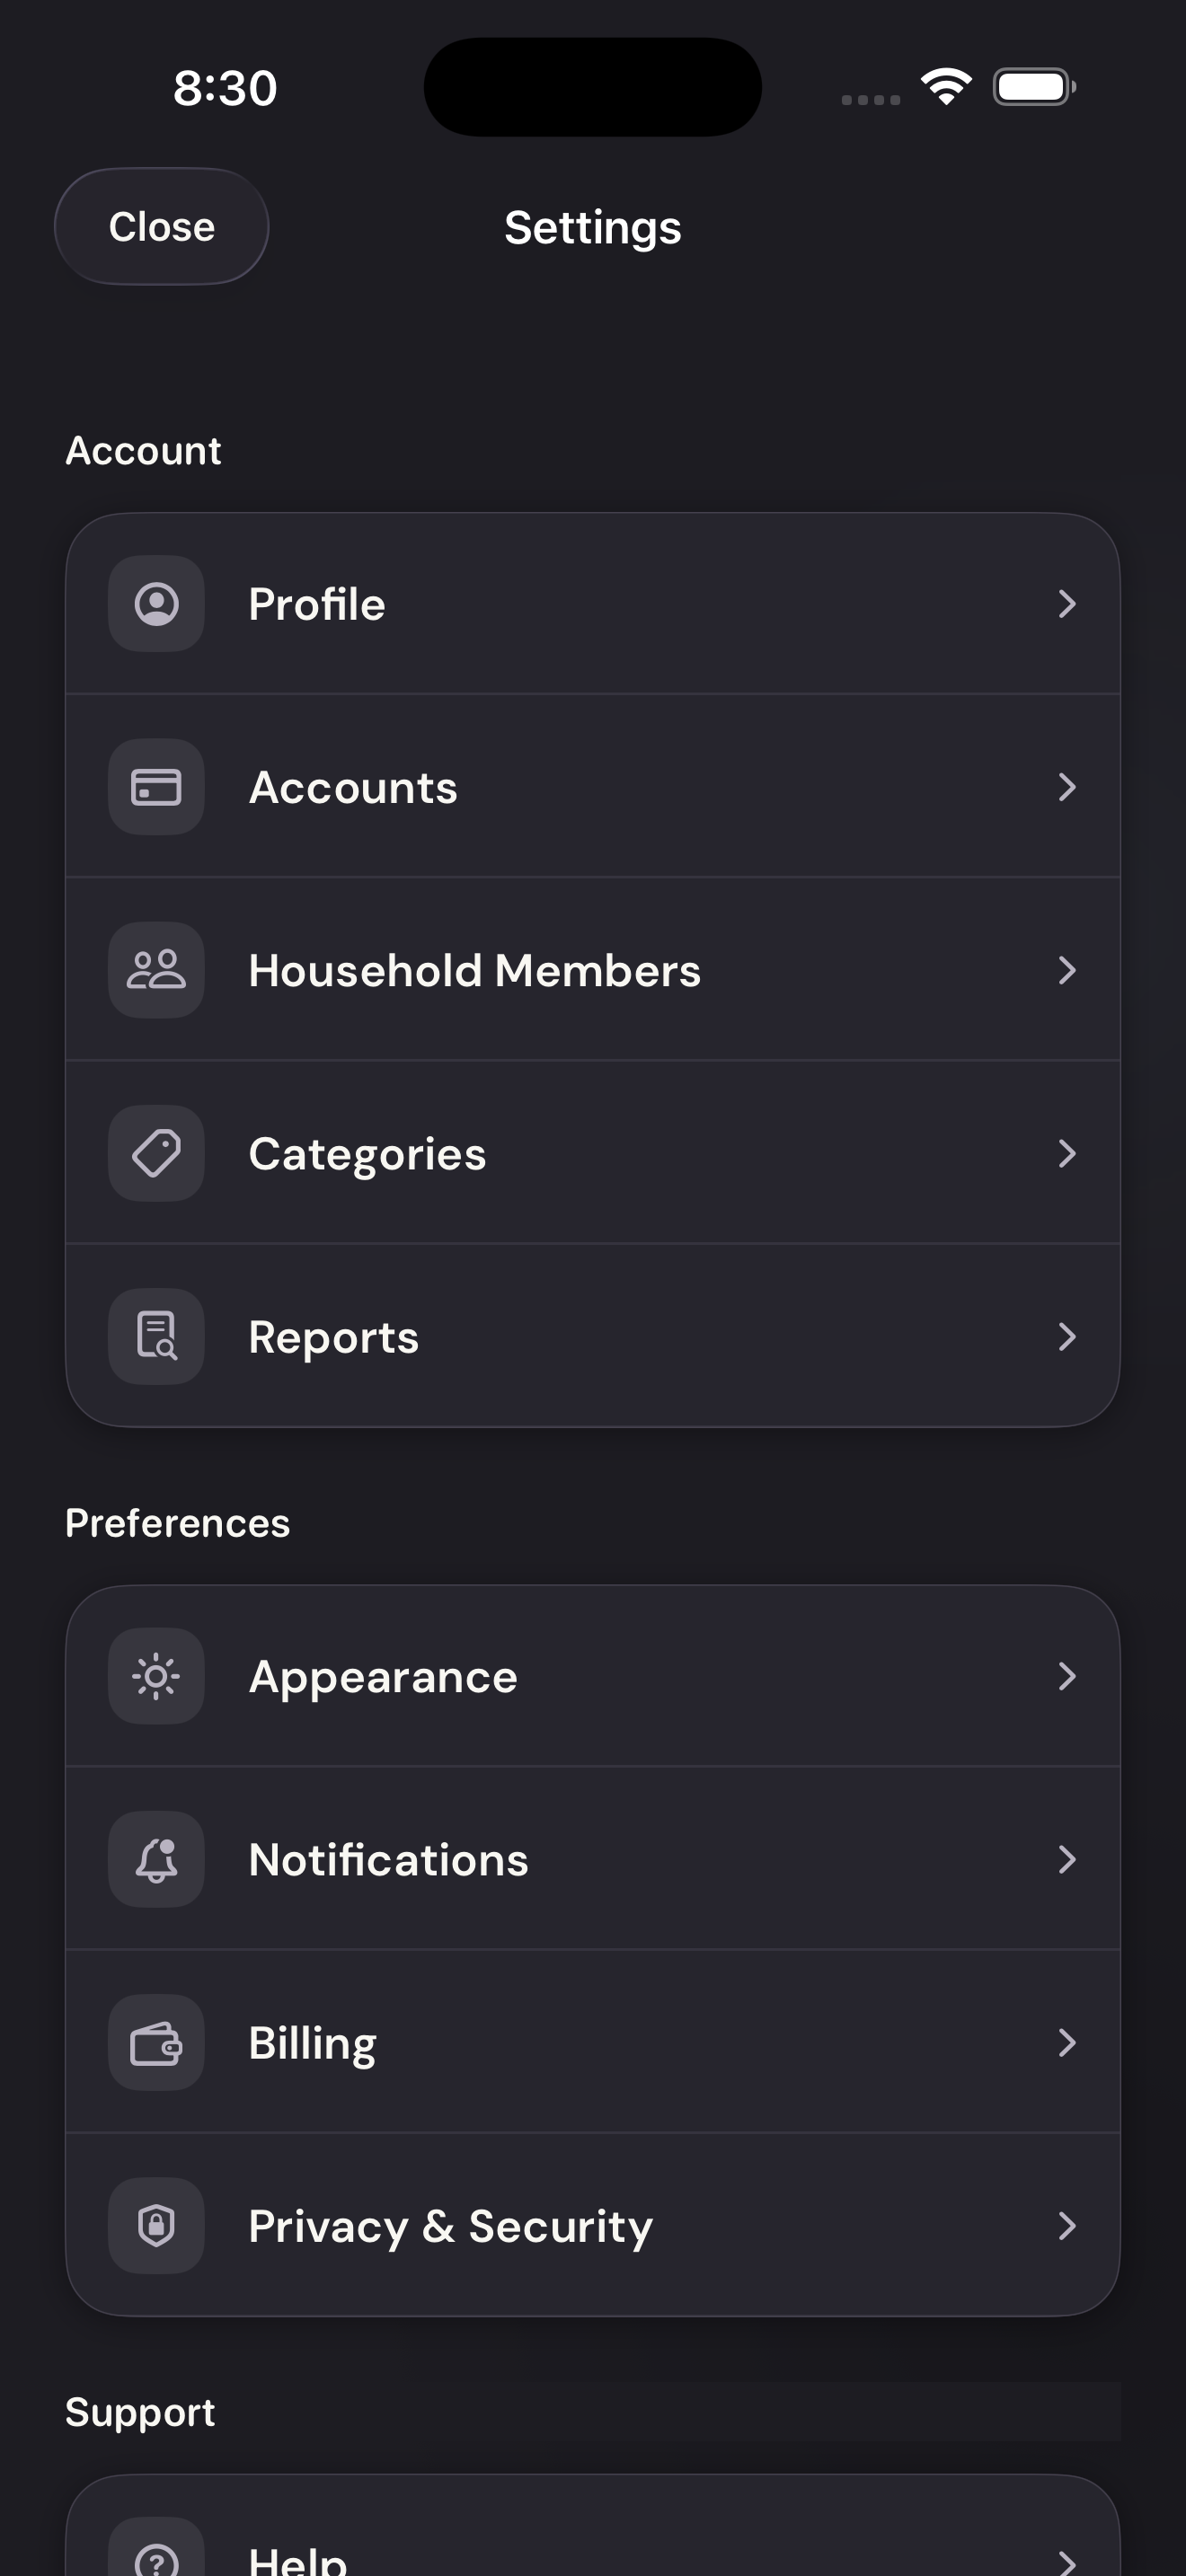
Tap the settings control at the top right of the app, then Categories.
Open CategoriesTap to enlarge Tap the plus beside the group
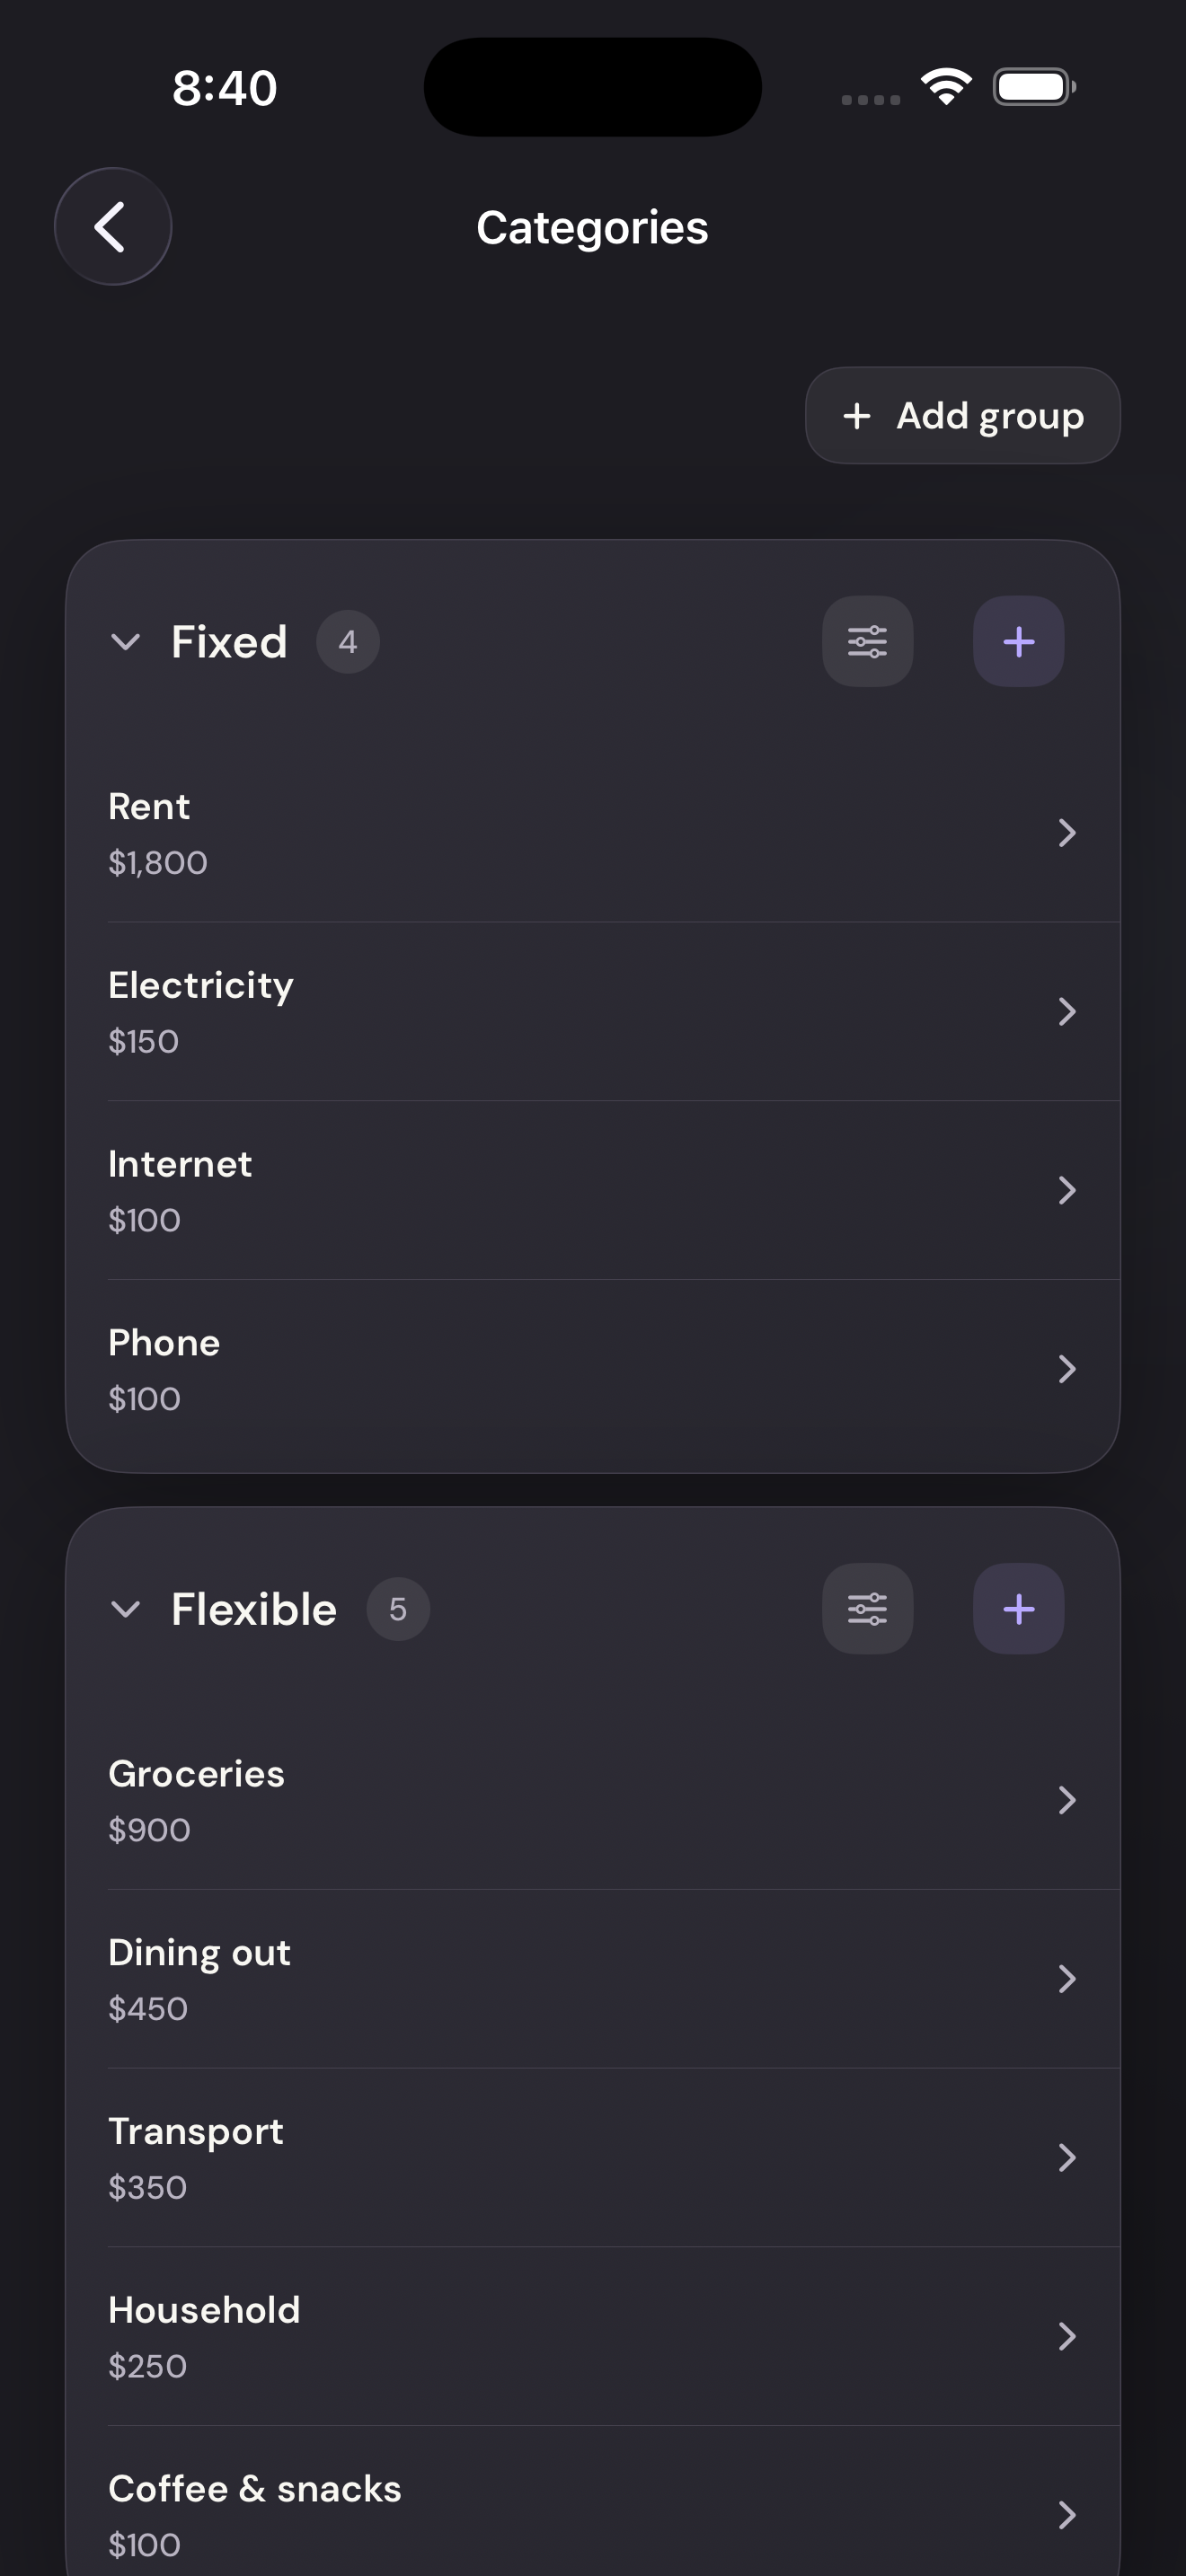
Tap the plus beside the group where the category should go: Income for earnings, Excluded for transactions outside your budget, or an expense group for spending. This example uses Flexible.
Tap the plus beside the groupTap to enlarge Name and save the category
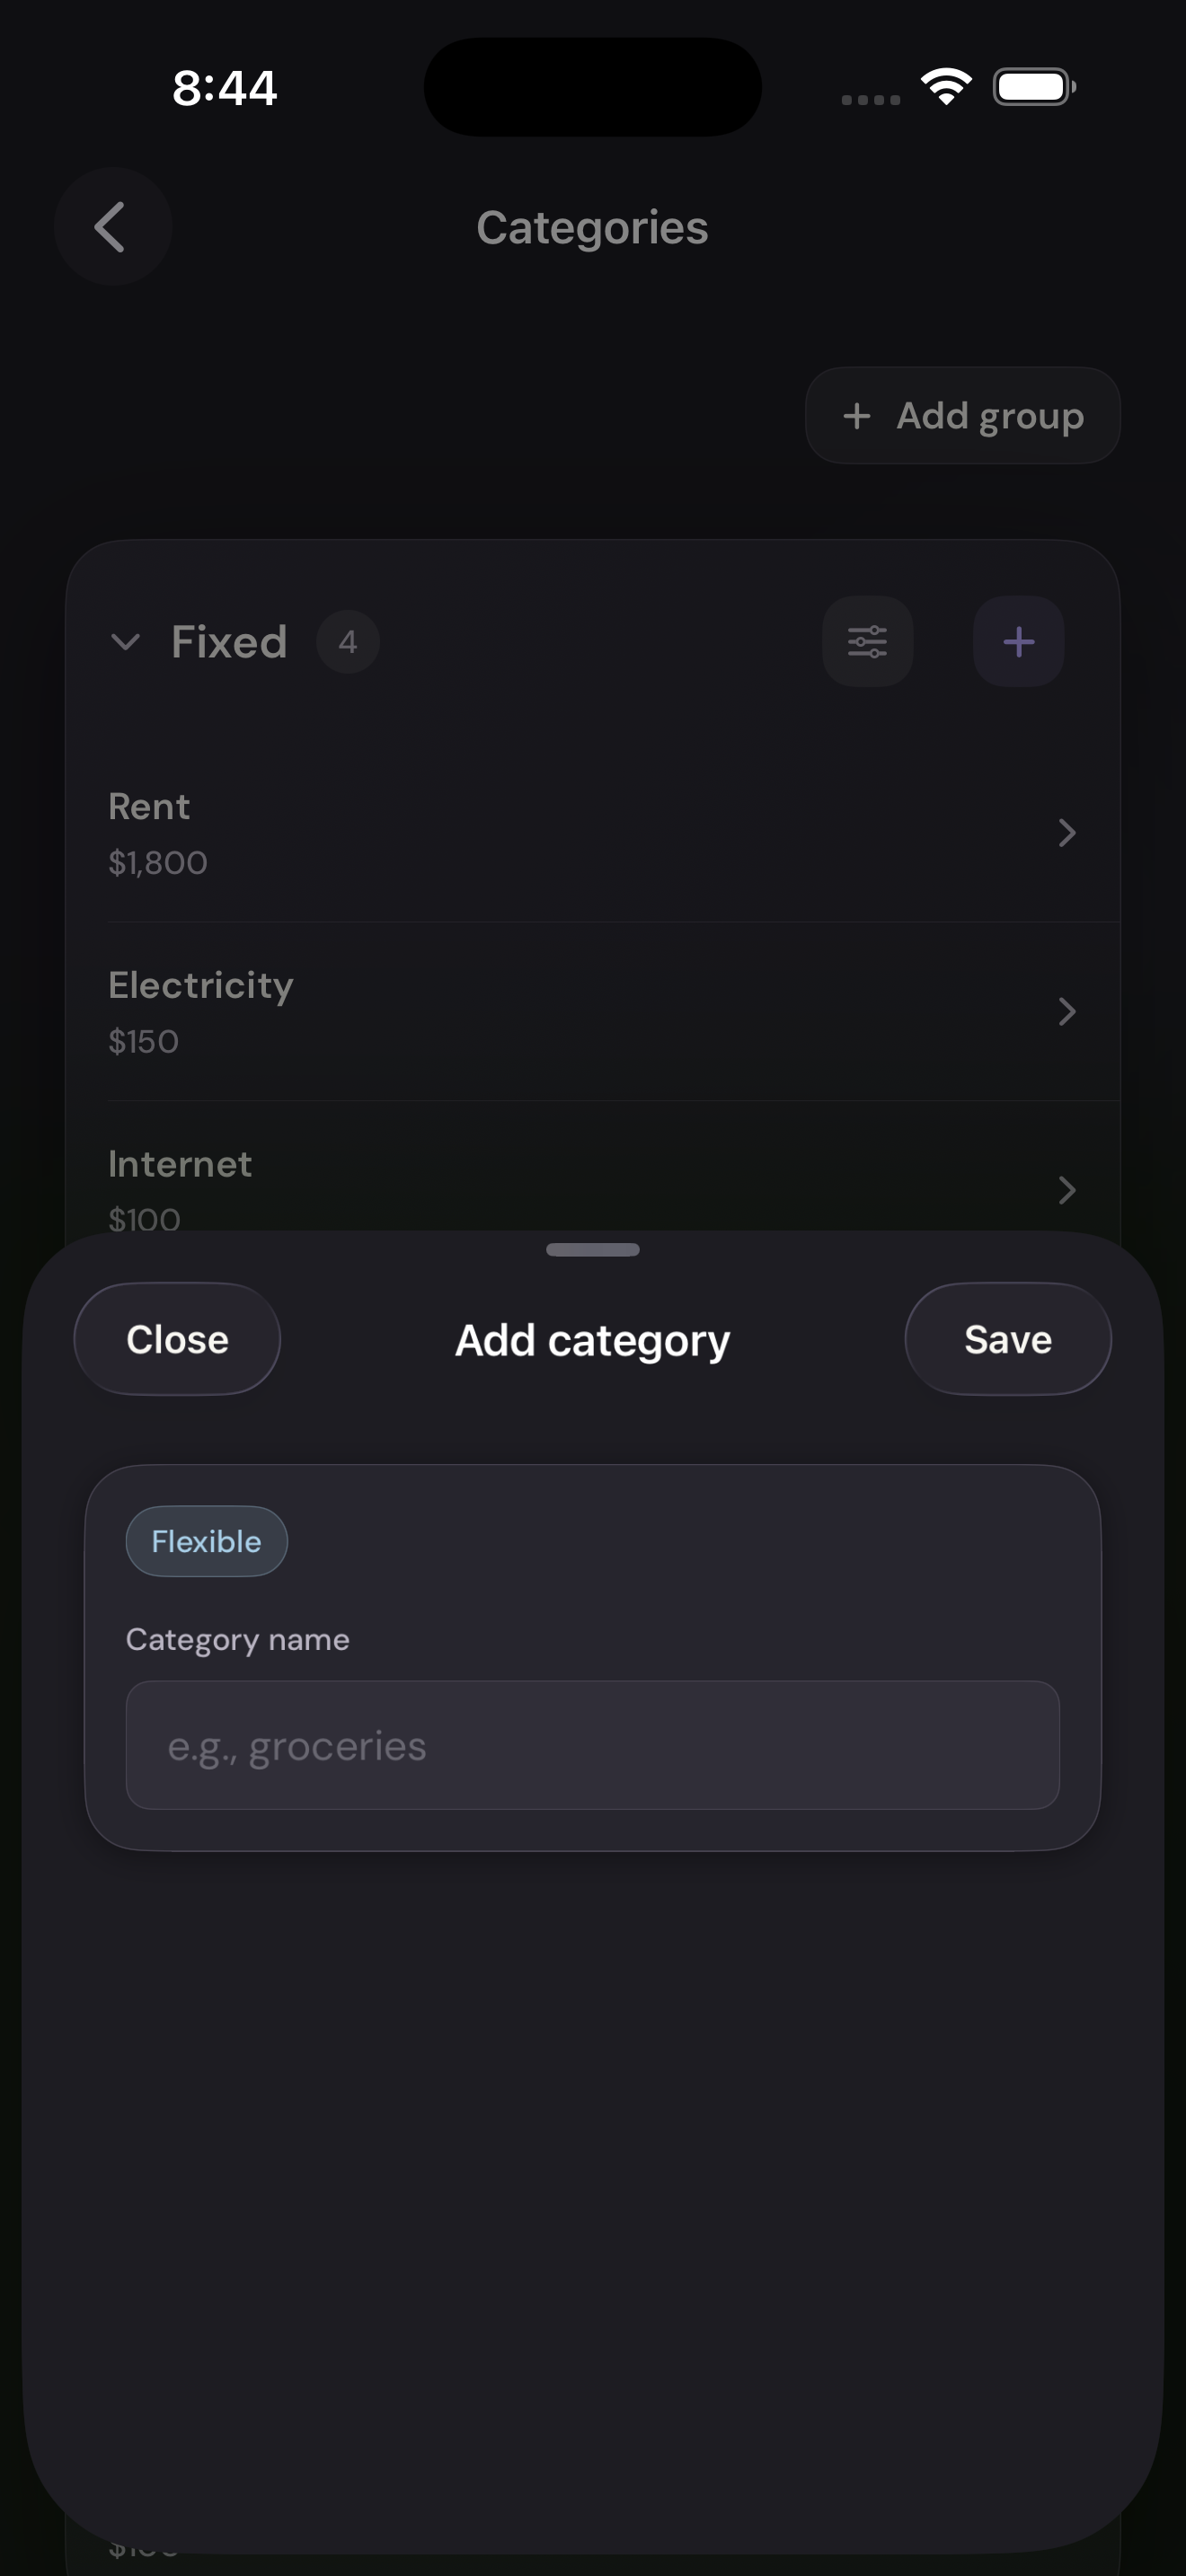
Enter a category name, then tap Save. You can add a monthly amount by editing the category afterward.
Name and save the categoryTap to enlarge