
Groups keep related categories together. You might have a Housing group for Rent, Utilities, and Home repairs.
Transactions belong to the categories inside a group. Renaming the group doesn’t change those assignments or create new sorting rules.
On the web
Open Categories
Choose Categories in the left navigation.
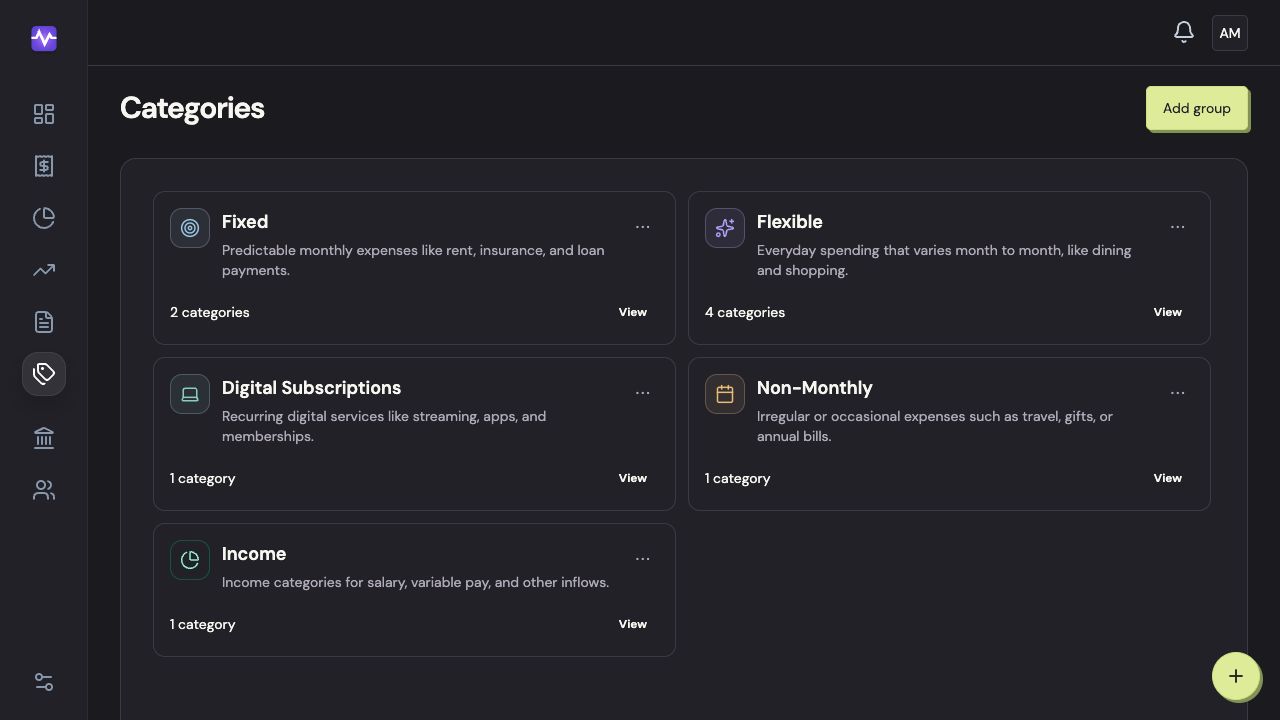
Open CategoriesTap to enlarge Add a group
Click Add group above the category cards.
Add a groupTap to enlarge Name the group
Enter a name. A short description and icon are optional. Click Create Group when you’re ready.
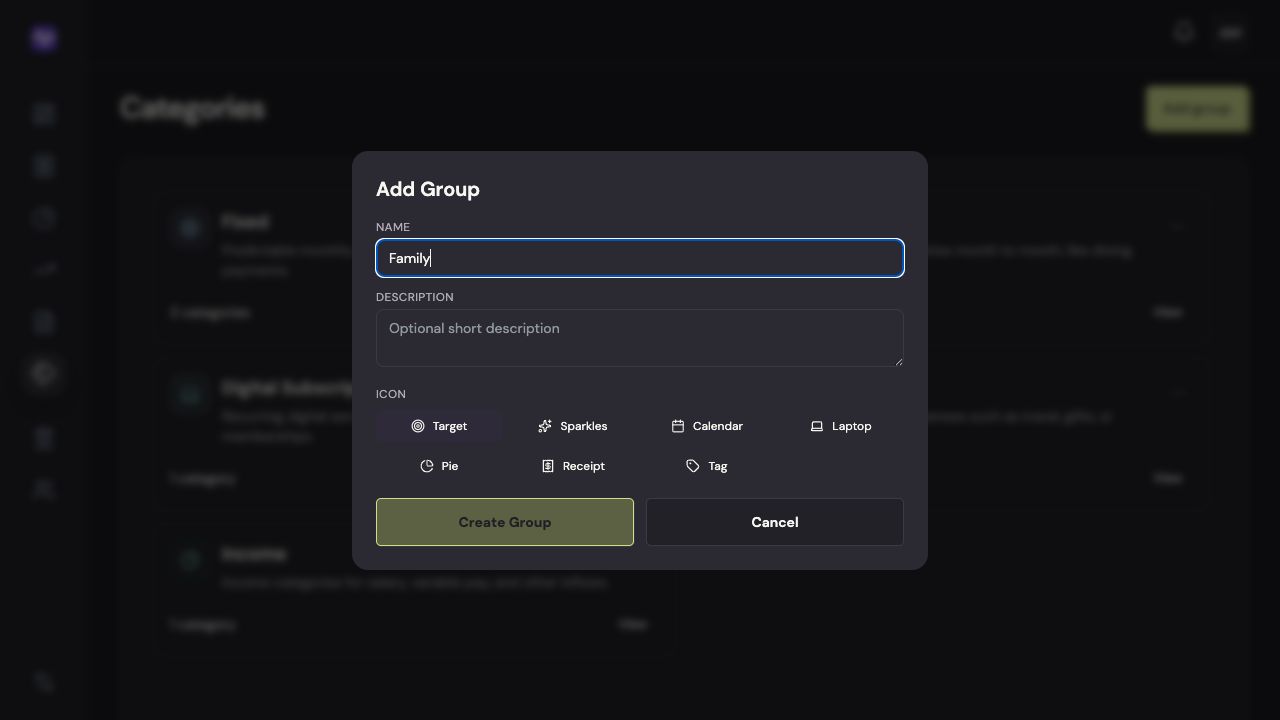
Name the groupTap to enlarge Rename an existing group
Open the group’s three-dot menu and choose Edit Name. Enter the name and press Enter.
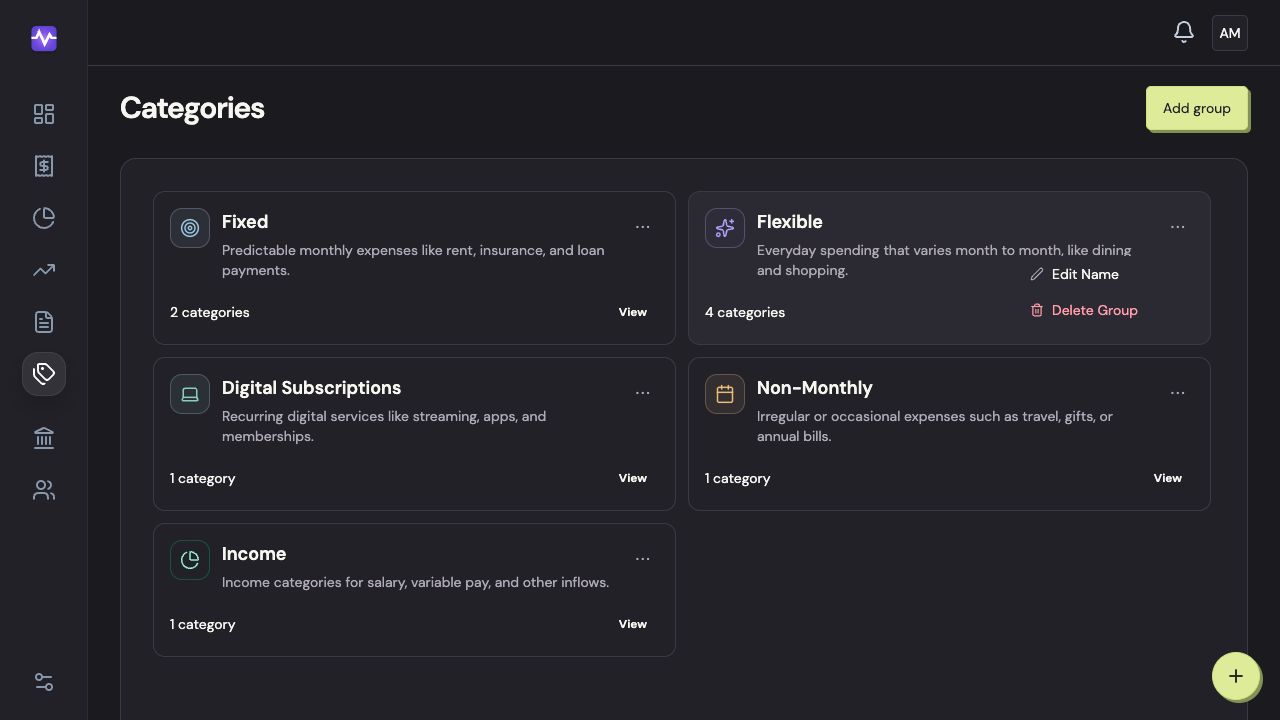
Rename an existing groupTap to enlarge
On iPhone
Open Categories
Tap the settings control at the top right of the app, then Categories.
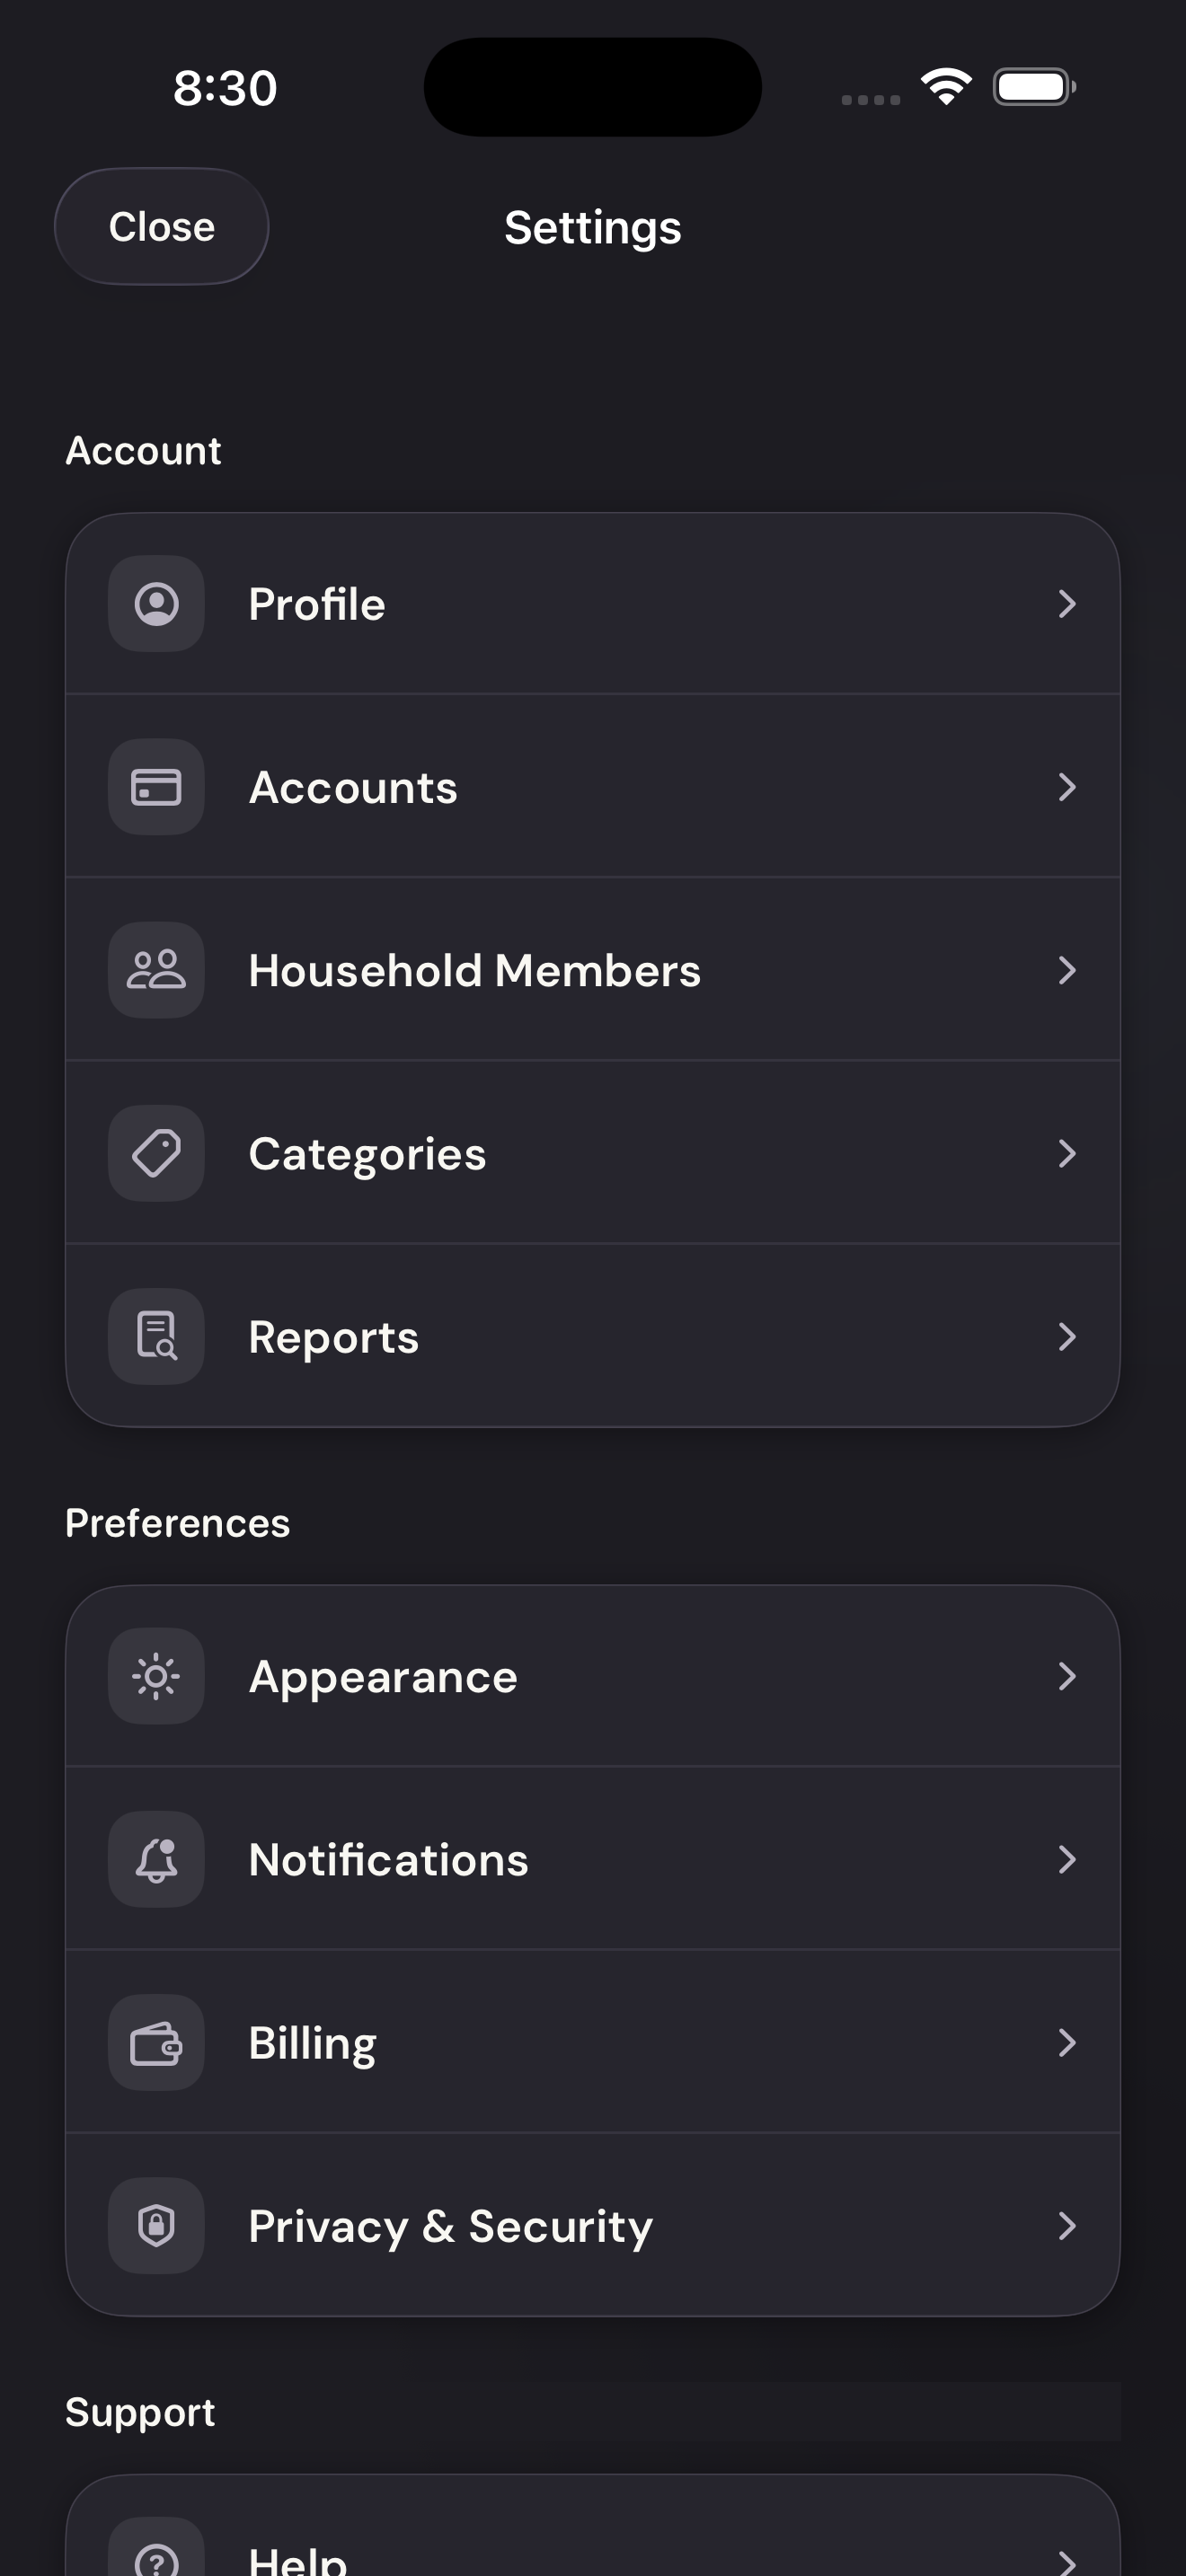
Open CategoriesTap to enlarge Add a group
Tap Add group above the category list.
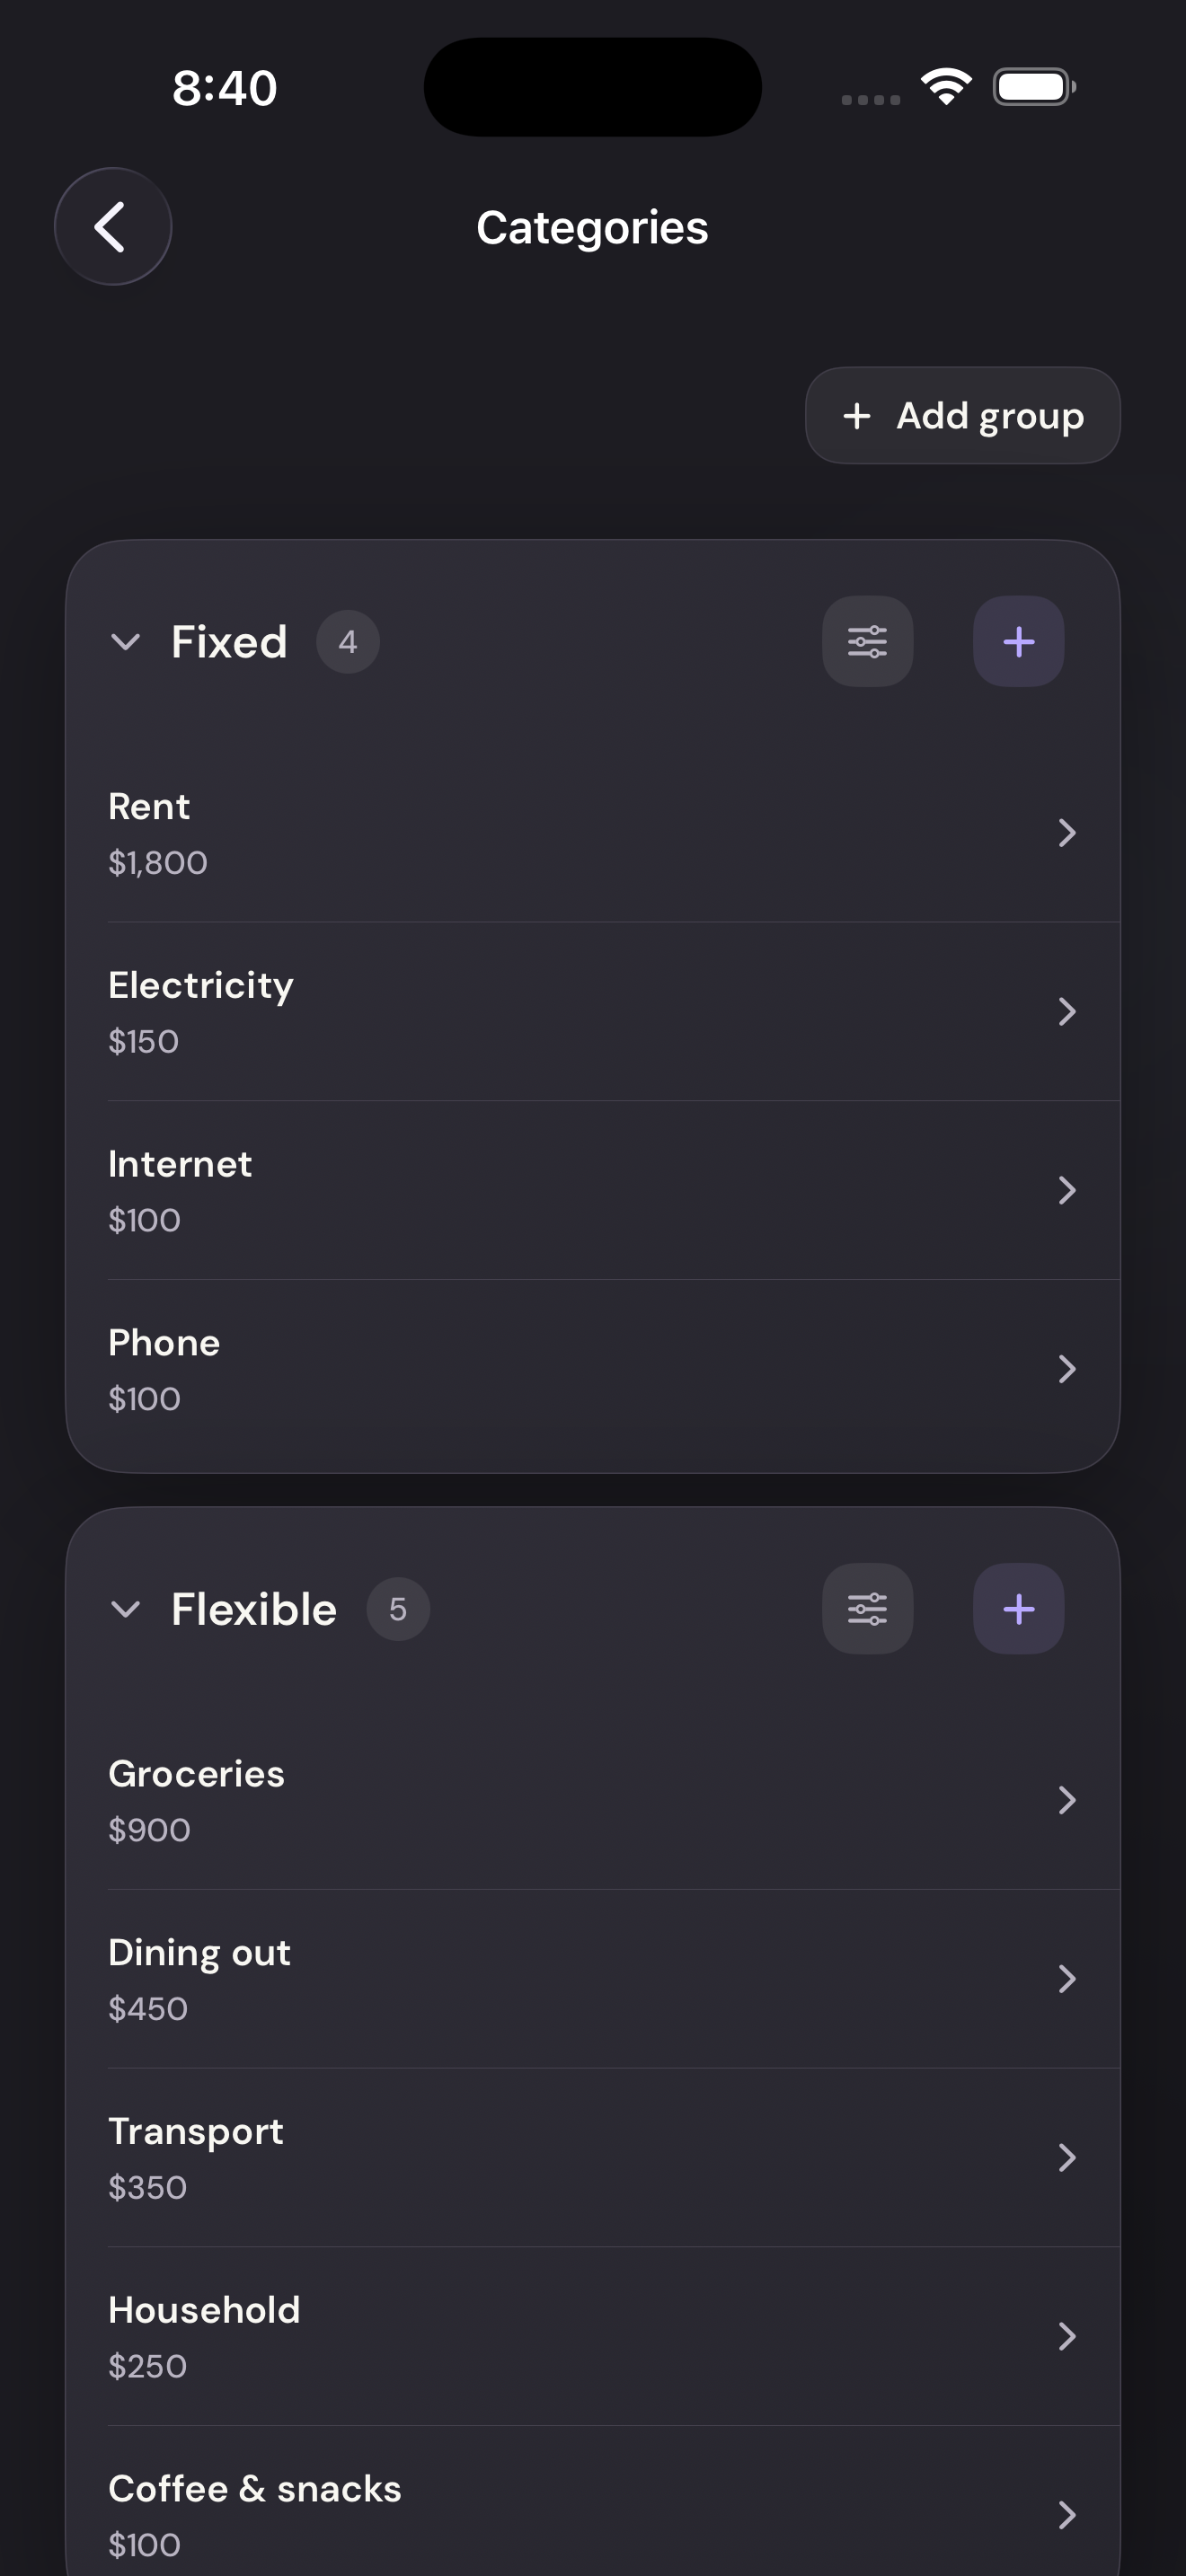
Add a groupTap to enlarge Name and save it
Enter the group name and tap Save.
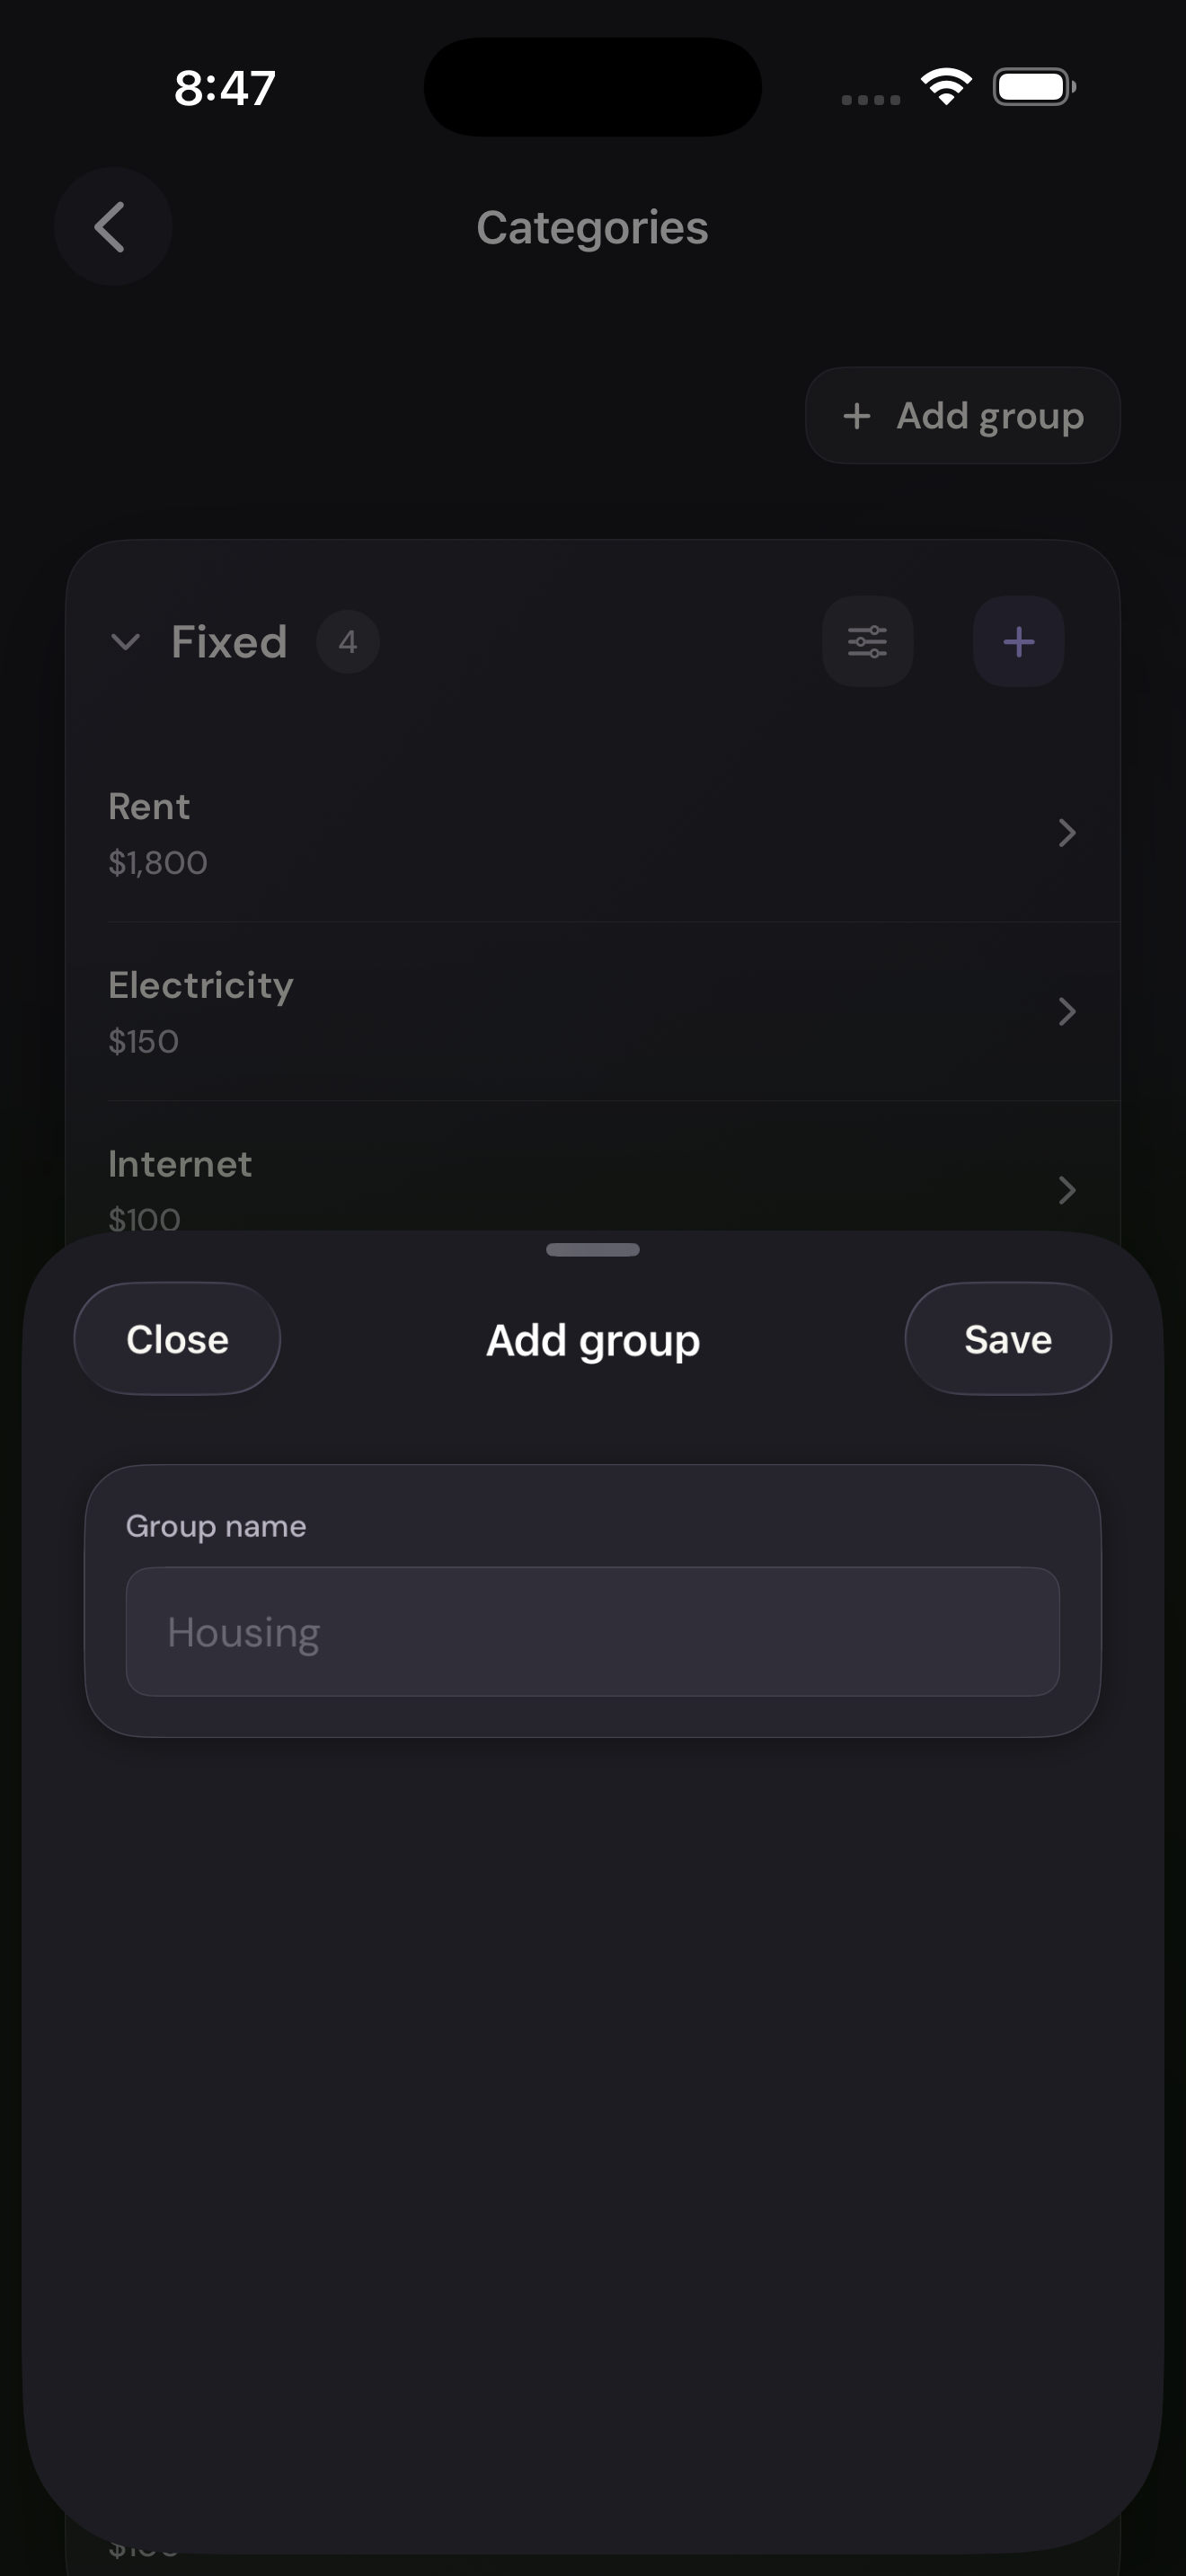
Name and save itTap to enlarge Edit an existing group
Tap the adjustment control beside the group name to rename it or open its delete options.
Edit an existing groupTap to enlarge